How To Grow, Harvest and Store Potatoes [Guide]

Potatoes, a staple and versatile vegetable, have long been cherished for their unique flavors and culinary versatility. From crispy French fries to creamy mashed potatoes and hearty potato soups, this humble tuber offers endless possibilities in the kitchen. Not only are potatoes delicious, but they also provide essential nutrients such as carbohydrates, dietary fiber, vitamin C, and potassium.
There's nothing quite like the joy of digging up your own fresh potatoes, knowing that you played a part in their growth from seed to harvest. By cultivating your own potatoes, you have complete control over the variety you grow, allowing you to explore different flavors and textures that may not be available in stores.
Growing your own potatoes provides a deeper understanding of the food system and a greater appreciation for the effort and care required to produce these nutritious tubers. It allows you to reconnect with nature and experience the joy of nurturing a plant from seed to maturity.
Not only do homegrown potatoes provide a rewarding gardening experience, but they also offer the added benefit of being free from harmful pesticides and chemicals that can be present in commercially grown potatoes. You have control over the cultivation process, allowing you to adopt organic practices and ensure the highest quality and health benefits for you and your family.
Whether you have a spacious backyard or limited space on a balcony or patio, potatoes can be grown in containers or traditional garden beds, making them accessible to gardeners of all levels.
What Kind Of Potatoes Can You Grow?
When it comes to choosing potato varieties, there are numerous options available, each with its own unique characteristics and culinary applications.
Russet potatoes are known for their rough, netted brown skin and white flesh. They have a starchy texture and a slightly mealy consistency, making them perfect for baking, mashing, and frying. Russets are often favored for their ability to yield crispy and fluffy French fries, as well as light and airy mashed potatoes. Their neutral flavor allows them to absorb seasonings and spices, making them versatile in various recipes.
Yukon Gold potatoes are prized for their smooth, golden-yellow skin and vibrant yellow flesh. They have a creamy and buttery texture that holds up well when boiled or roasted, making them ideal for dishes like creamy mashed potatoes, roasted potatoes, and potato salads. Yukon Golds have a rich, subtly sweet flavor that adds depth to any dish. Their thin skins are tender and can be left on for added texture and nutrients.
Red Pontiac potatoes feature a vibrant red skin and crisp, white flesh. They have a waxy texture and hold their shape well when boiled or roasted, making them great for potato salads, roasted vegetables, and soups. Red Pontiacs have a slightly sweet and earthy flavor that adds a delightful taste to any dish. Their attractive red skin also adds visual appeal when used in recipes that showcase the vibrant colors of the ingredients.
Each of these potato varieties has its own suitability for different culinary applications. Russet potatoes are the go-to choice for baking due to their high starch content and fluffy texture when cooked. Their thick skin helps retain moisture, resulting in a crispy exterior and light, tender interior. Yukon Gold and Red Pontiac potatoes are excellent for boiling because of their waxy texture. They hold their shape well during cooking and maintain a creamy consistency, making them ideal for potato salads, stews, or any recipe that requires boiled potatoes. Russet potatoes are often the preferred choice for frying, whether it's for making French fries or potato chips. Their high starch content and low moisture content allow them to achieve a crispy exterior and a soft, fluffy interior when fried.
Where to Plant Potatoes
Potatoes thrive in full sun exposure, so it is essential to choose a growing site that receives at least 6-8 hours of direct sunlight per day. This ensures optimal growth and encourages the development of healthy foliage and tubers. Adequate sunlight also helps prevent diseases and promotes good air circulation around the plants.
Soil preparation plays a crucial role in the successful growth of potatoes. Start by testing the soil pH using a soil testing kit, aiming for a slightly acidic to neutral range between 5.8 and 6.5. Adjust the pH if necessary by adding lime to raise it or sulfur to lower it. This helps create a favorable environment for nutrient uptake and minimizes the risk of nutrient deficiencies or toxicities.
In addition to pH adjustments, it's important to ensure that the soil is well-draining and loose. Potatoes prefer fluffy, loamy soil that allows for good drainage and root penetration. If your soil is heavy or compacted, incorporate organic matter such as compost, well-rotted manure, or peat moss to improve its texture and drainage capabilities. Organic matter also enriches the soil with nutrients, enhances water retention, and promotes beneficial microbial activity.
Potatoes need enough room to grow and spread their foliage without overcrowding. Adequate spacing allows for good air circulation and reduces the risk of diseases, especially those that thrive in damp and crowded conditions.
Select an area that is free from large trees or structures that may cast excessive shade over the potato plants. While some shade during the hottest part of the day can be beneficial, too much shade can hinder growth and reduce yield. Aim for a location where the potato plants will receive ample sunlight throughout the day.
Growing Seed Potatoes VS Grocery Store Potatoes

When starting potatoes, there are two main methods: using certified seed potatoes or sprouting potatoes from the grocery store. Certified seed potatoes are specially grown and certified disease-free, ensuring a higher chance of healthy and productive plants. On the other hand, sprouting potatoes from the grocery store can be a cost-effective option, but they may carry a higher risk of diseases and may not produce consistent results. Starting potatoes from certified seed potatoes is the recommended method for optimal results.
Before planting, you will need to "chit" the seed potatoes. Chitting refers to the process of encouraging the potatoes to sprout before planting. Arrange your seed potatoes in a single layer with the eyes facing upward. Allow the seed potatoes to sprout for a few weeks. During this time, small sprouts or "chits" will emerge from the eyes of the potatoes. Once the sprouts are about one inch long and you are ready to plant, cut any larger seed potatoes into roughly two inch chunks and allow the cuts to heal over and dry out for 24-48 hours to reduce the risk of rot.
Prepare the soil by removing any weeds and loosening it with a garden fork or tiller. Incorporate organic matter, such as compost or well-rotted manure, to enrich the soil. Dig a trench or individual holes for planting. The depth will depend on the size of the seed potatoes, but a general guideline is around 4 to 6 inches (10 to 15 cm) deep. Place the seed potatoes in the trench or holes, sprouts facing upward, with a spacing of about 12 to 15 inches (30 to 38 cm) between each potato. Ensure that the sprouts are positioned upward and not buried too deep.
Cover the potatoes with soil, leaving a small mound or ridge above the ground. As the plants grow, you can gradually mound soil around the stems to encourage more tuber development. Hilling is not necessary for determinate varieties of potatoes.
Sprouting grocery store potatoes can be an alternative if certified seed potatoes are not readily available. However, it's important to note that grocery store potatoes may carry diseases or have been treated with growth inhibitors. If you choose this method, select healthy, organic potatoes from the grocery store. Avoid potatoes that are sprouting excessively or showing signs of decay or disease. Place the potatoes in a cool, dry, and well-ventilated area with temperatures around 50 to 60°F (10 to 15°C). This will initiate the sprouting process. Allow the potatoes to sprout for several weeks until the sprouts are about 1 inch (2.5 cm) long. Check the potatoes regularly and discard any that show signs of rot or disease. Once the sprouts have reached the desired length, follow the planting steps outlined above for certified seed potatoes, including preparing the soil, digging trenches or holes, and planting the sprouted potatoes with the sprouts facing upward.
Why Should You Hill Potatoes?
Hilling is an important technique in potato cultivation that involves gradually covering the emerging plants with soil. Hilling encourages tuber development - by covering the lower stems and lower leaves with soil, the plant is stimulated to produce additional underground stems and tubers. This increases the yield of the potato crop. Furthermore, exposing the tubers to sunlight can cause them to turn green, indicating the presence of solanine, a toxic compound. Hilling helps prevent exposure to sunlight, ensuring the potatoes remain healthy and safe for consumption.
Here’s how to hill potatoes
Once the potato plants have emerged and reached a height of about 6 to 8 inches (15 to 20 cm), carefully mound soil around the base of the plants, covering the lower stems and lower leaves. Leave a small portion of the top foliage exposed. This ensures that the plant can still carry out photosynthesis and continue growing. Repeat the hilling process every few weeks as the plants continue to grow. By the end of the season, the mounded soil can reach a height of 8 to 12 inches (20 to 30 cm) above the original ground level.
Potato Plant Pests
Colorado potato beetles: These beetles are one of the most destructive pests of potatoes. Both the adult beetles and their larvae feed on potato foliage, causing significant damage if left unchecked.
Aphids: Aphids are small, sap-sucking insects that can infest potato plants. They reproduce rapidly and can cause distortion and stunted growth in the leaves. Aphids also secrete a sticky substance called honeydew, which can attract ants and promote the growth of sooty mold.
Potato tuber moths: These pests primarily target the tubers, causing damage by tunneling into the potatoes and rendering them unmarketable or unfit for consumption.
To prevent pests on your potatoes, inspect the plants regularly and manually remove pests such as Colorado potato beetles and their larvae. Drop them into a bucket of soapy water to prevent them from returning to the plants. Intercropping potatoes with repellent plants such as marigolds, tansy, or coriander can help deter pests. These companion plants emit natural compounds that repel insects.
Potato Plant Diseases
Late blight: Late blight is a devastating fungal disease that affects the foliage and tubers of potatoes. It thrives in cool, moist conditions and can spread rapidly, causing leaf lesions and rotting of the tubers.
Potato scab: Potato scab is a bacterial disease that results in rough, scaly patches on the potato tubers. It does not typically affect the edibility of the potatoes but can make them less appealing.
To prevent potato diseases, avoid planting potatoes or other related crops (such as tomatoes or peppers) in the same location year after year. Rotate potatoes with unrelated crops to disrupt the life cycle of pests and diseases. Remove and destroy any diseased plant material to prevent the spread of diseases. This includes removing infected foliage or tubers and properly disposing of them. Using certified disease-free seed potatoes can help reduce the risk of introducing diseases into your garden. Proper spacing between plants and removing weeds or excess vegetation around the potato patch promotes air circulation, which can help reduce humidity and prevent disease development.
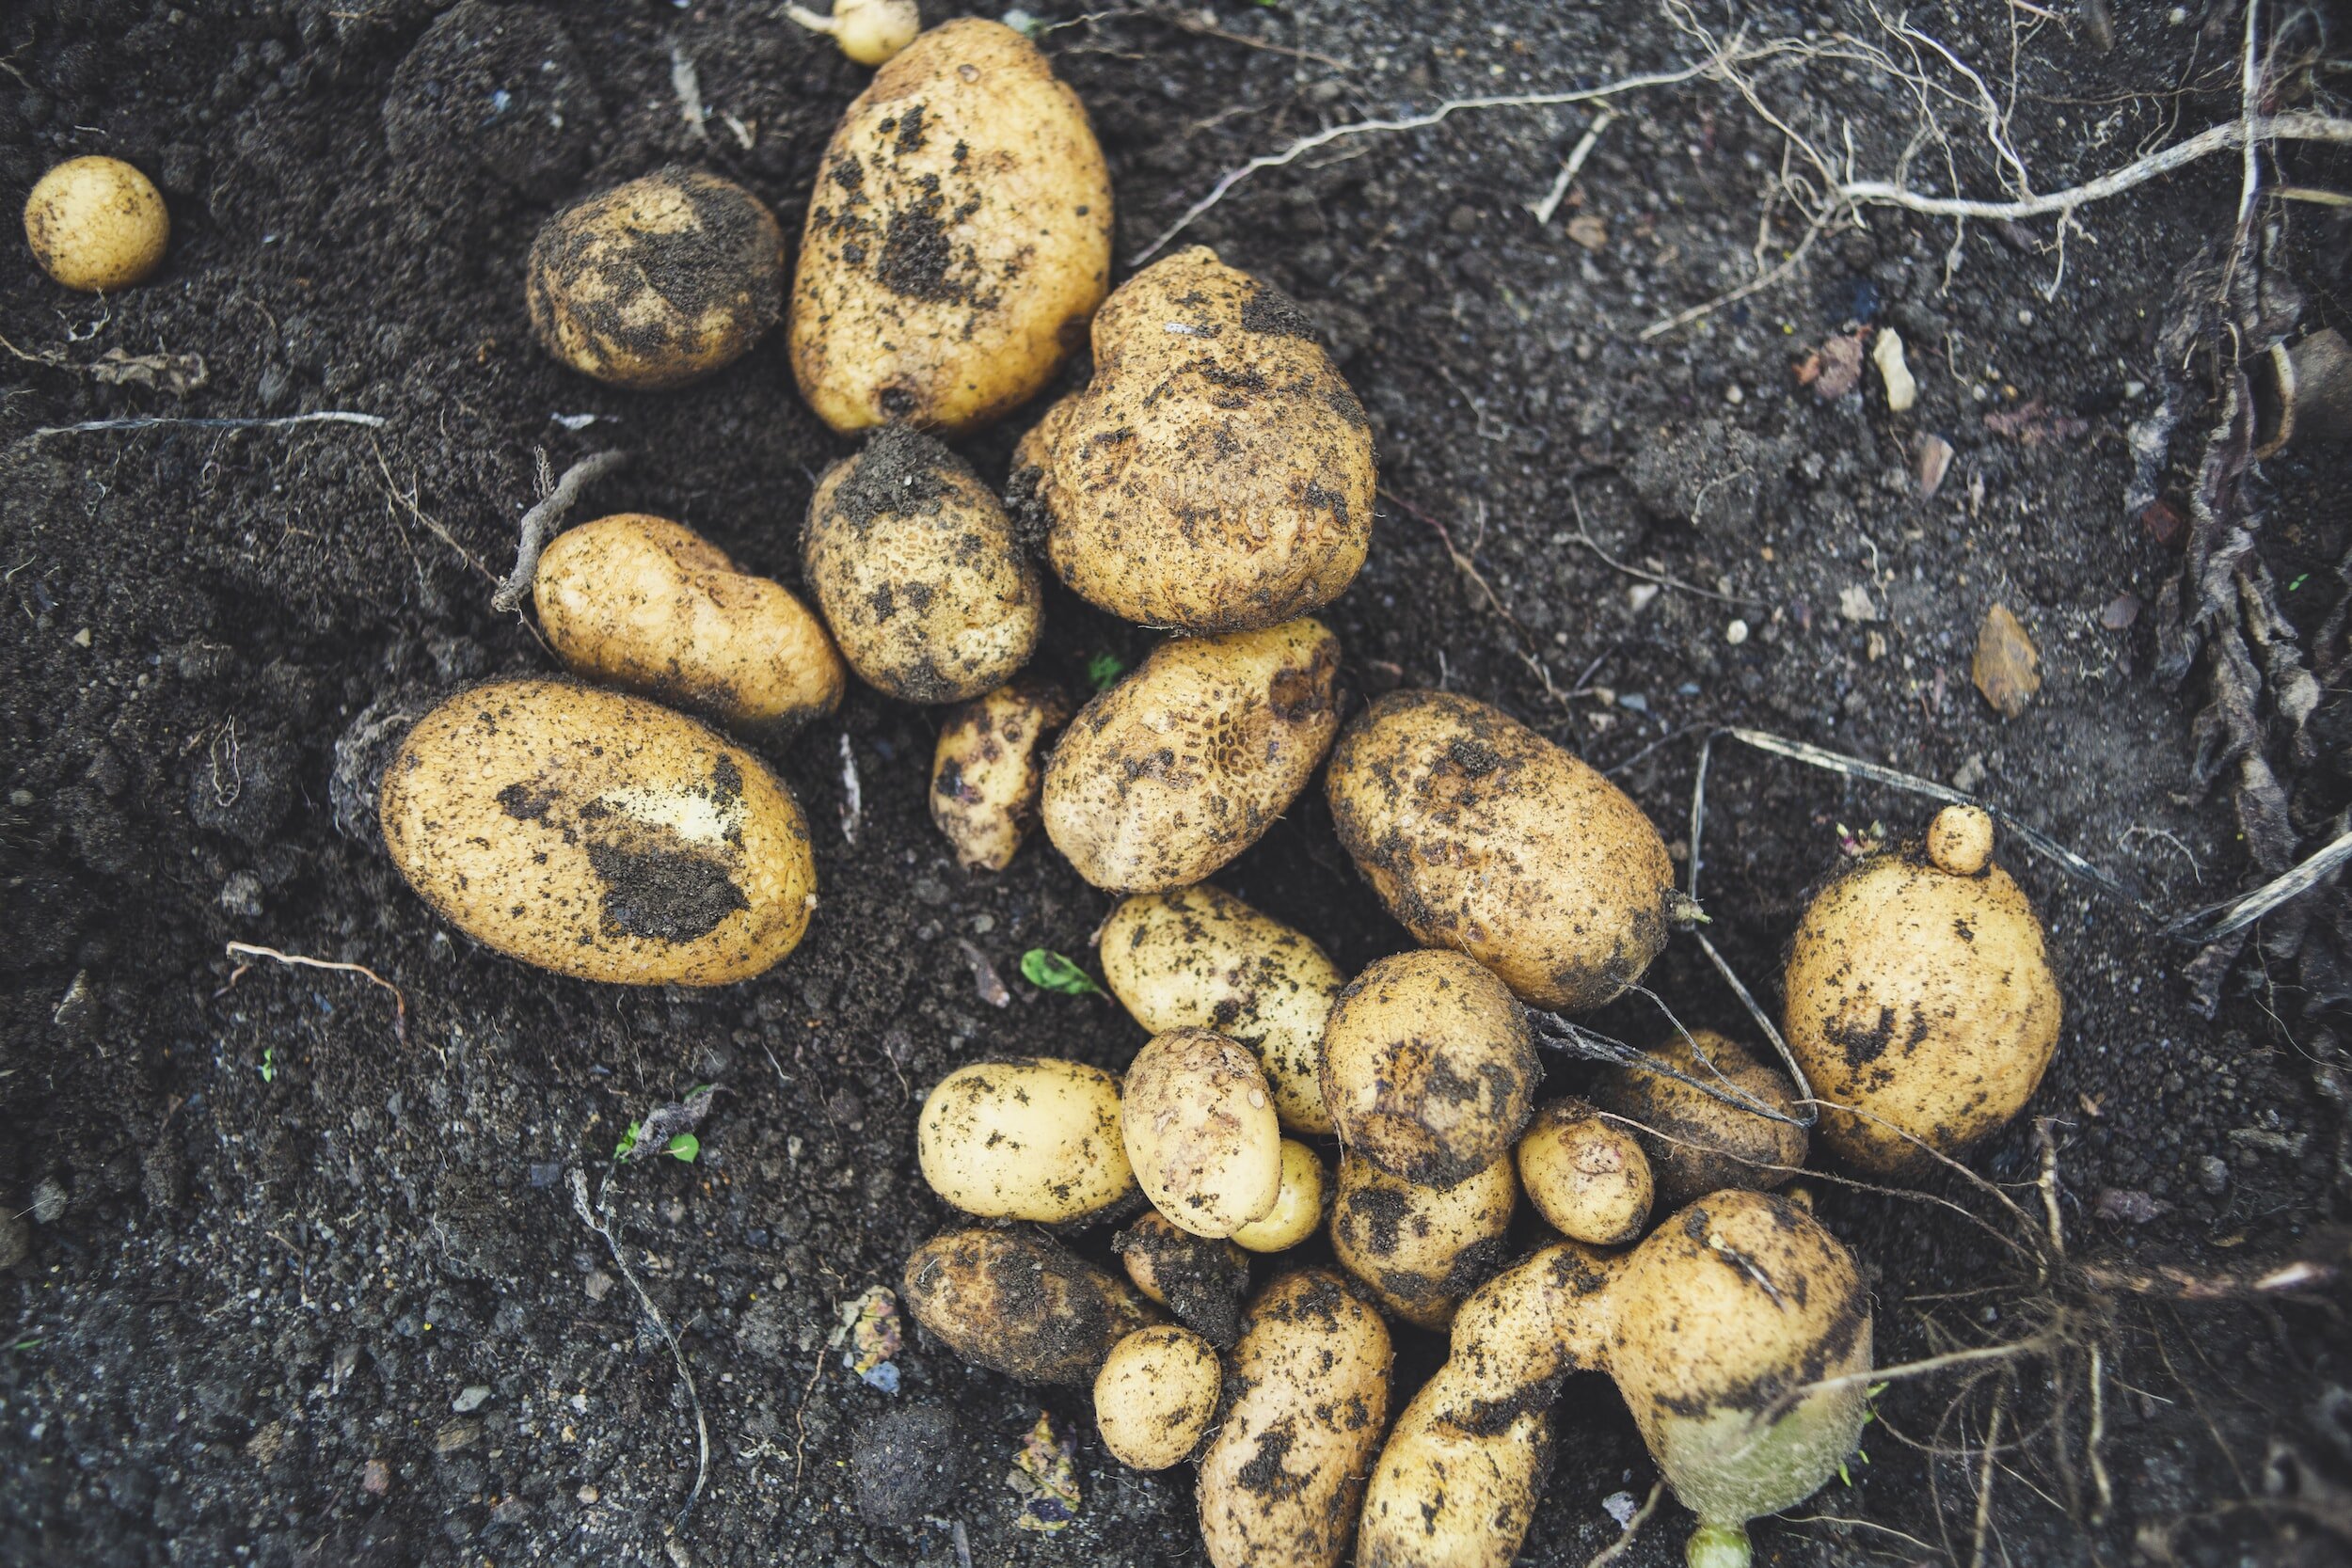
How to Harvest Potatoes
When it comes to harvesting potatoes, it's important to wait until the plants have reached maturity. Signs of maturity include the yellowing and dying back of the foliage. This indicates that the potatoes have stopped growing and are ready to be harvested.
To harvest your potatoes, start by gently digging around the base of the plants with a garden fork or shovel, taking care not to pierce or cut the potatoes. Lift the plants out of the ground, shaking off excess soil or gently brushing it off the tubers.
How to Cure Potatoes
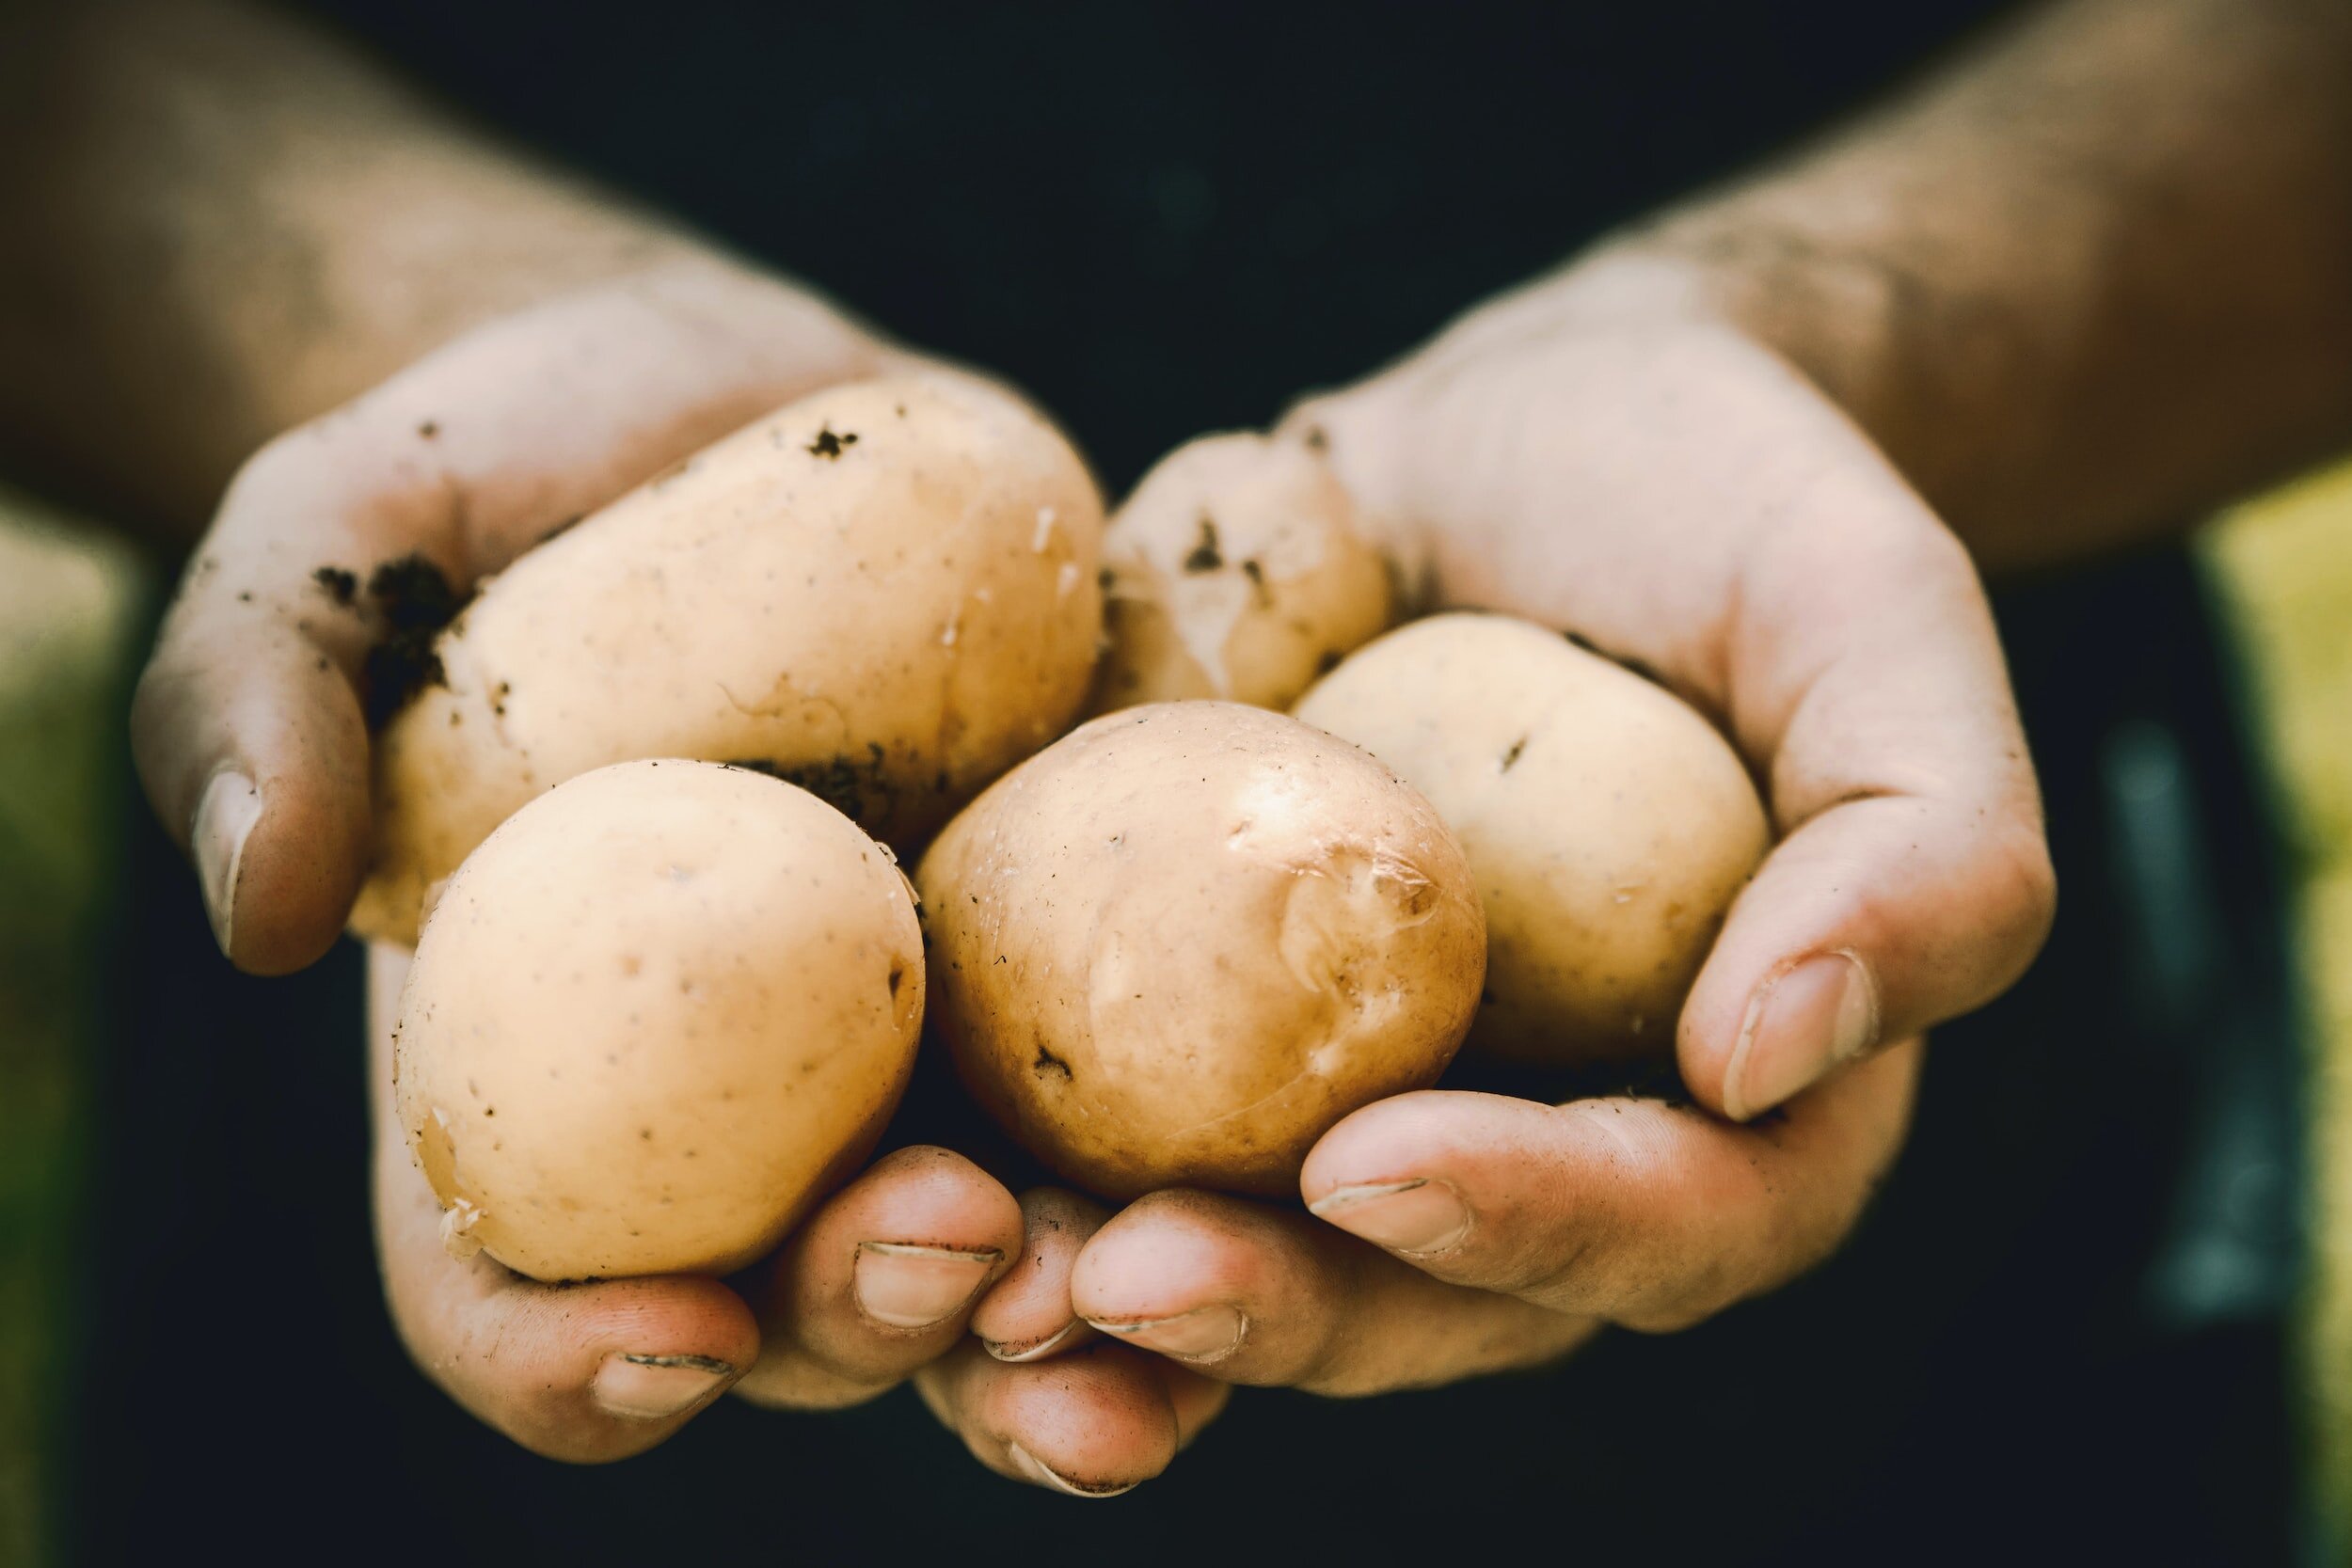
Curing potatoes after harvesting is an important step to toughen their skins and improve their storage capabilities. To cure potatoes, lay them out in a single layer in a cool, well-ventilated area for about two weeks. This allows the skins to thicken and any minor injuries to heal, reducing the risk of rot during storage.
How to Store Potatoes
Store potatoes in a cool, dark location with a temperature of around 45-50°F (7-10°C). Avoid exposure to sunlight as it can cause the potatoes to turn green and develop a bitter taste. If available, create a root cellar-like environment by storing potatoes in a cool, humid place with good airflow. Ideal conditions include a temperature range of 32-40°F (0-4°C) and humidity levels of 90-95%. This helps to prolong their storage life. Place potatoes in paper or burlap sacks that allow for airflow while blocking out light. Avoid using plastic bags, as they can trap moisture and promote rotting. Regularly inspect stored potatoes for signs of spoilage, such as soft spots, mold, or sprouting. Remove any spoiled potatoes promptly to prevent the spread of rot to the rest of the stored tubers.
Growing your own potatoes can be a rewarding experience. From choosing the right varieties to harvesting and storing them properly, you can enjoy the satisfaction of homegrown potatoes that are versatile in the kitchen and packed with flavor. So why not start your own potato garden, experiment with different varieties, and savor the delicious flavors and nutritional benefits that homegrown potatoes bring to your meals? Happy potato growing!