Caring For Cast Iron Cookware
The Cottage Peach is reader-supported. When you purchase through links on our site, we may earn an affiliate commission at no additional cost to you. All opinions are our own.
Cooking on cast iron is a traditional method that has stood the test of time. Some of the best dishes I’ve ever made have involved cast iron cookware. The timelessness of cast iron pans is outshone only by their innate quality. You would be hard pressed to break a cast iron pan. Consider this your ultimate guide to choosing, maintaining and cooking with cast iron.
What is Cast Iron?
There are two ways we make things from iron. One is to heat it and work it with tools, the product of which we call wrought iron. The other is to cast it. In casting, melted iron is poured into molds to form a solid piece, such as a frying pan.
Why Cook on Cast Iron?
There are five reasons just about everyone should have a cast iron pan if they are able:
Cast iron pans will outlive you.
Cast iron pans are virtually indestructible. There’s a reason you can easily find them at antique stores and garage sales. Even a rusty old cast iron pan can be revitalized with a bit of work. When handled properly, a cast iron pan can be handed down to generation after generation.
Cast iron handles heat.
A cast iron pan can go from the stovetop to the oven to the table. Cast iron pans can handle heat up to 600 degrees, so have no trouble in a kitchen oven.
Cast iron maintains heat.
Once a cast iron pan is hot, it stays hot. This makes it ideal for searing food, keeping dinner warm, and making pizza.
Seasoned cast iron is non-stick.
With proper care, you can build up layers which will develop into a slick, hard, non-stick surface. Seasoning a pan is not hard. I’ll explain how below.
How to Choose a Cast Iron Pan
The first decision to make is whether you want to buy an older, used pan or a brand-new one.
There are benefits and downsides to either choice.
Benefits of old cast iron pans:
Ecologically, an older pan is the obvious choice.

In the 1940s and earlier, cast iron pans were poured into sand-based molds. They were then polished to smooth their pebbly surface. Because of this, an older pan can be slighter more non-stick than a newer one. People will hunt hard to collect these ‘original’ pans.
A vintage pan may already be beautifully seasoned. It takes time to develop a cast iron pan’s non-stick surface. An old pan that’s been cared for properly is a real find.
Downsides of old cat iron pans:
A vintage cast iron pan will need work if it has been allowed to rust. This can be time-consuming.
An old pan may hair hairline cracks or be warped, so needs to be examined closely before purchasing.
Vintage cast iron, particularly Griswold pans, can be more expensive than buying new. (Griswold pans are thinner, which means they are lighter and take less time to heat up.)
Benefits of new cast iron pans:
A new cast iron pan may be more readily available.
There are very inexpensive options available for new cast iron pans, and there are new pans available that are lightweight and relatively well-seasoned. Field pans are some of the best lightweight cast iron pans you can buy.
Downsides to new cast iron pans:
In the 1950s, a much higher volume of pans was produced than had been in the past. In order to streamline the process, the final step of polishing the pans was dropped. This results in cast iron pans that have more of a pebbly surface. These newer pans can be seasoned to a really nice non-stick surface, but they will never be quite as non-stick as an older pan.
While new pans may be marketed as pre-seasoned, for the most part there will only be a couple of thin layers of seasoning.
Inexpensive new cast iron pans are much thicker, and therefore much heavier. They are also rougher and take longer to season.
A lighter, well-seasoned cast iron pan, like those from Field, come with a higher cost but many benefits to go along with it.
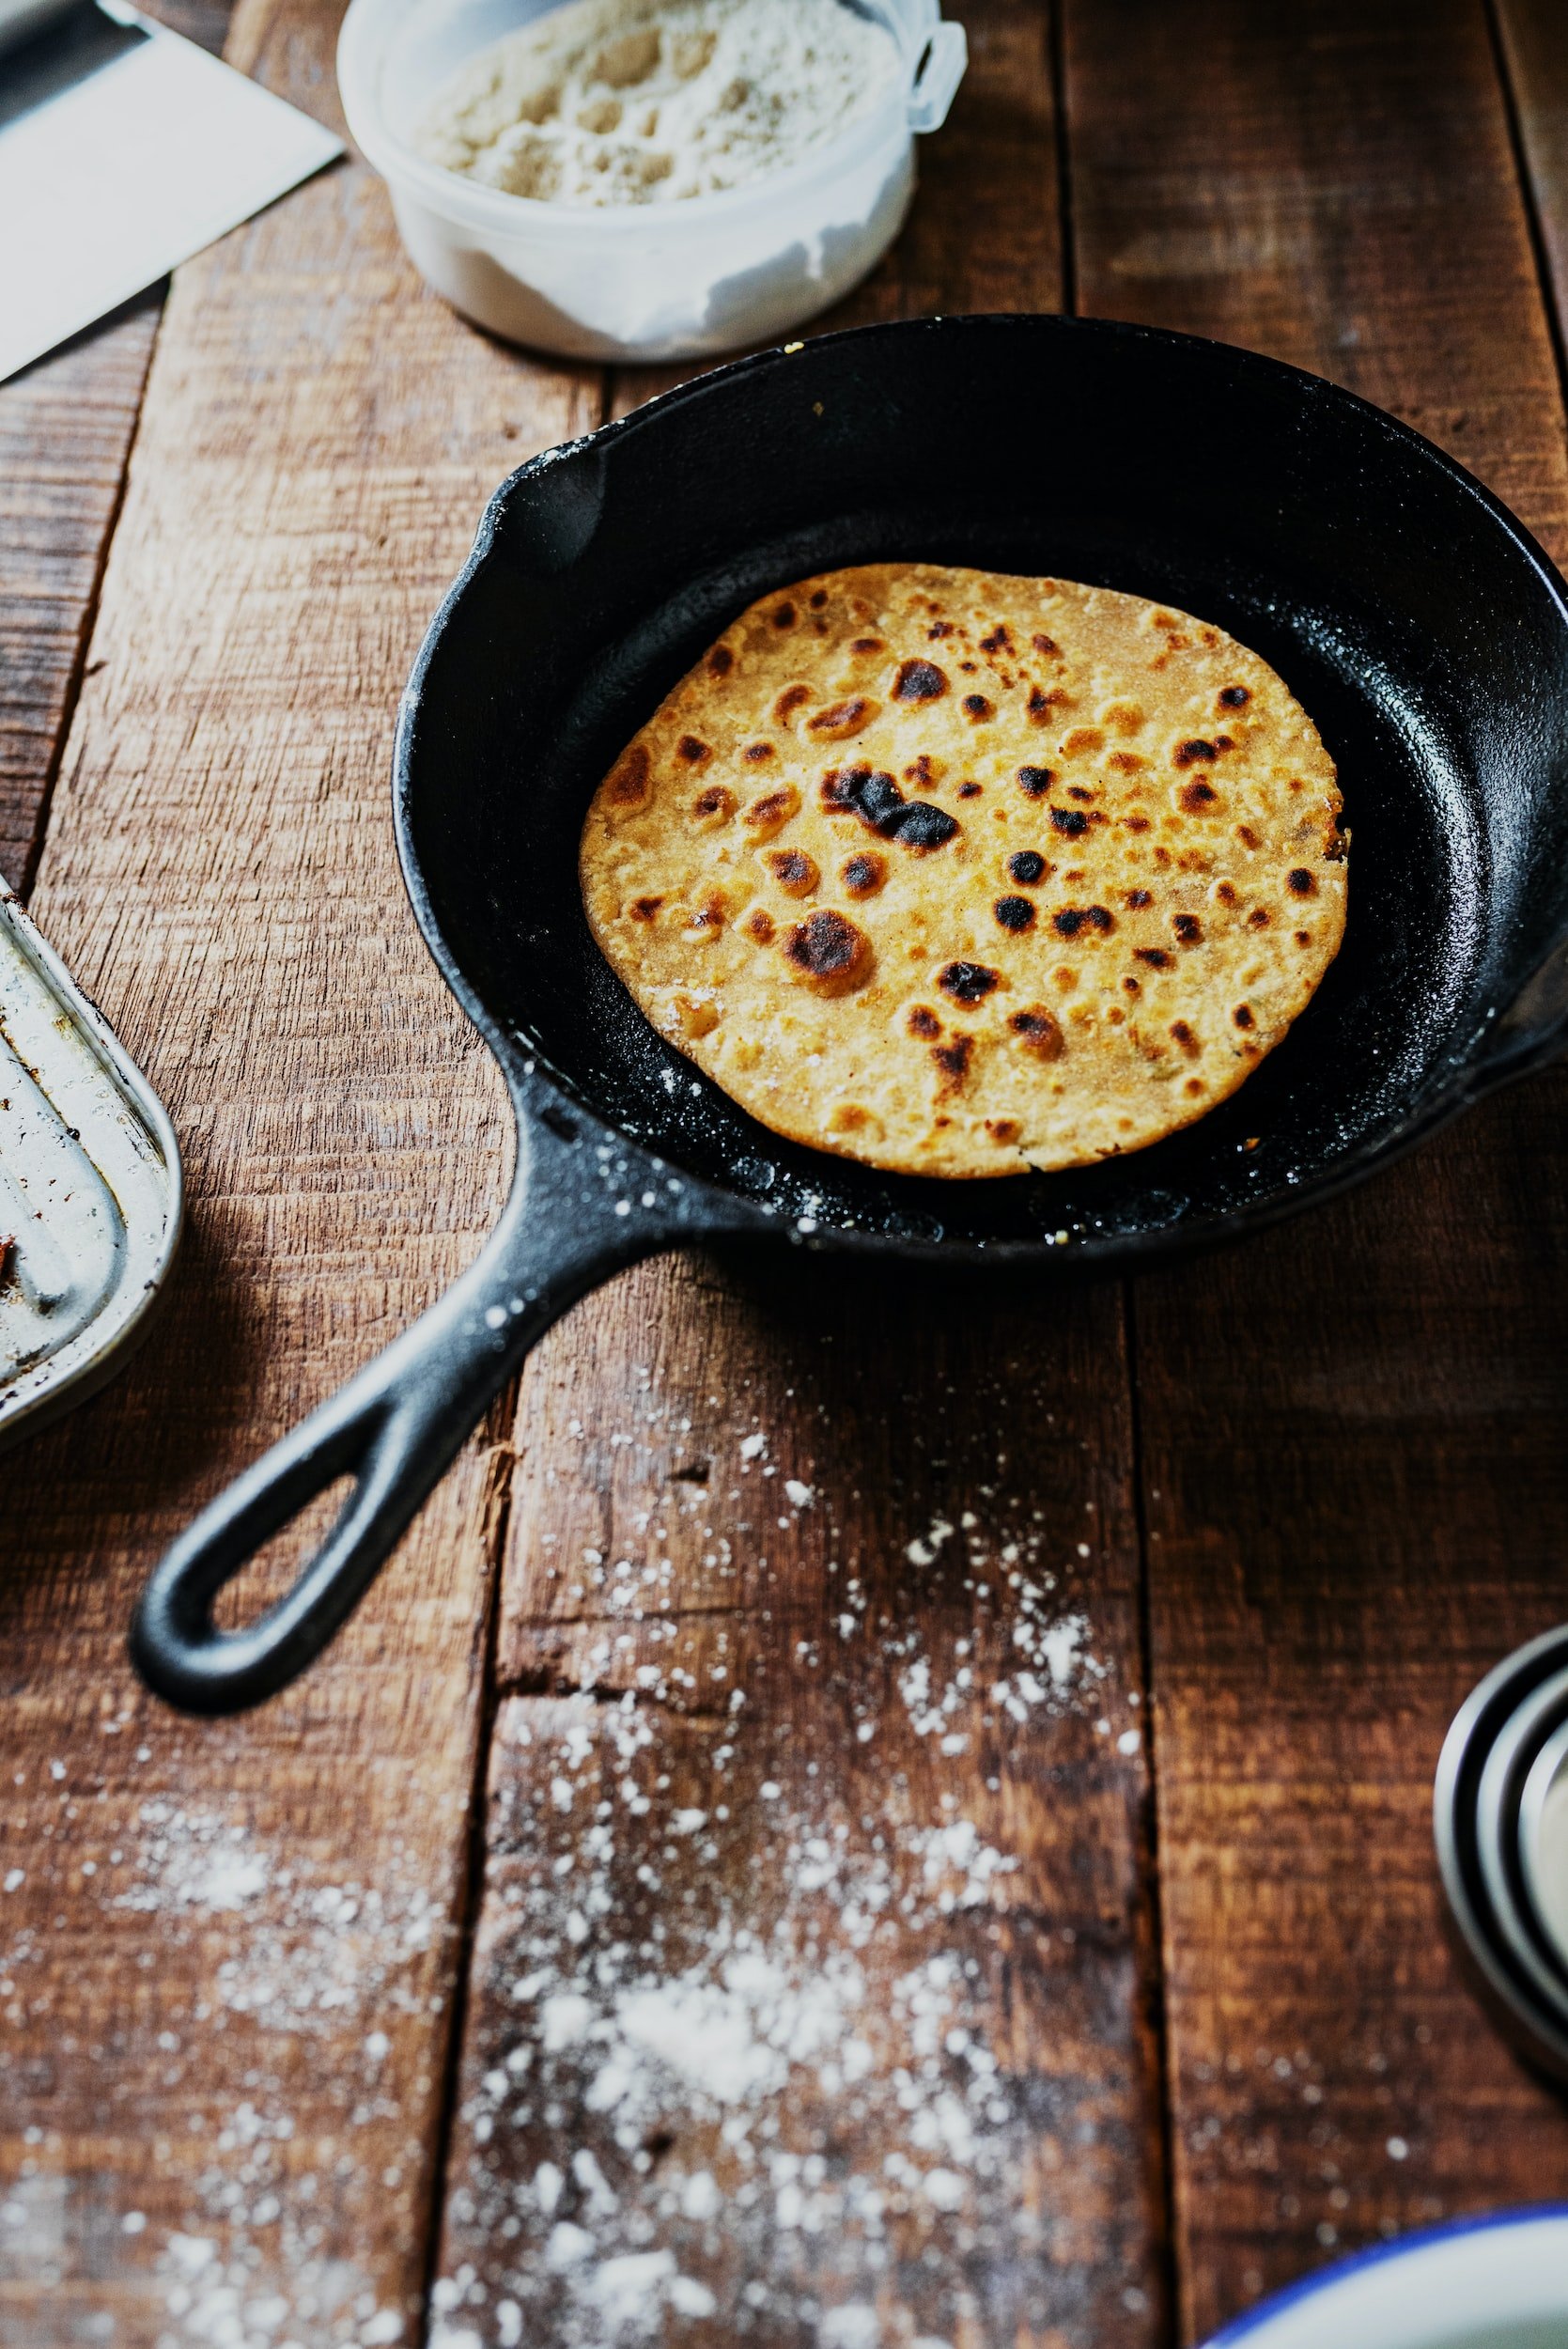
How to Cook in Cast Iron
When you first start using a cast iron pan, even a pre-seasoned one, you may find your food sticks to it. To avoid this, it’s best not to cook with high heat until your seasoning develops.
The more often you cook with oil or butter, the faster you’ll have a well-seasoned pan.
The handle of a cast iron pan can get as hot as the pan itself, so use quality potholders. Silicone sleeves to cover the handles are also available.
It is ok to use metal utensils on seasoned cast iron if that’s what you’ve got. Seasoning is not just a coating on the surface of the cast iron. It is chemically bonded to it. You may not want to scrape hard at your cast iron pan with a metal spatula, but using it in the normal course of cooking is fine.
Acidic foods like tomatoes and vinegar can break down your pan’s seasoning. Once your pan has developed a non-stick seasoning, you can use small amounts of these ingredients, but it’s best not to use large quantities or to simmer acidic dishes for long periods of time in cast iron.
How to Clean a Cast Iron Skillet
Cast iron pans have a bad reputation as being finicky and difficult to clean. You’ll hear that you should never use soap, for example.
It’s true that cast iron should not go in the dishwasher. But there is no harm in using a small amount of soap with a pot scraper or sponge to hand-wash your pan. The advice to not use any soap is from back when soap was a lot harsher.
If you’d rather not use soap, though, you can use coarse salt and warm water to scrub your pan clean.
It’s easiest to clean a cast iron pan while it is still warm from cooking. This is true of just about every kind of pan I’ve ever used.
There are two big no-no’s when cleaning cast iron pans. The first is soaking. Soaking a cast iron pan can cause it to rust. It’s possible to repair a rusted cast iron pan, but it is not a quick process.
The second is that you should never put a cast iron pan away wet. Any moisture can be a problem.
There is one (quick) extra step when cleaning a cast iron pan as opposed to other pans. Cast iron pans should be seasoned after each use.
How to Season Cast Iron
Seasoning cast iron is a process which bonds hot fat molecules to the iron to build up a smooth, non-stick surface. Seasoning also protects the iron from rust and corrosion.

Cast iron is porous and when heated, those pores expand, which makes it possible for the fats to incorporate themselves within the iron.
Cooking with oil plays a part in seasoning the pan, but for best results, you should season your pan after each use.
How to season cast iron after use:
After washing it, put your cast iron pan on a burner over high heat until any water has evaporated.
Once it is dry, spread a small amount of olive, vegetable, sunflower, or grapeseed oil in a very thin layer over the pan with a paper towel or rag. Keep in on the heat for a minute, but remove it before the oil on the pan begins to smoke. Let it cool, and it’s ready to be put away.
How to do a deep seasoning of cast iron pans:
When you first get a cast iron pan, and then 2 or 3 times a year thereafter, you should do a deeper seasoning of your pan. It’s a similar process to regular seasoning, but in this case, we bake the pan in the oven rather than heating it on the stovetop.
What you’ll need:
An oven
¼ teaspoon + ¼ teaspoon oil, divided
Paper towel or rag
Instructions:
Preheat your oven to 200 degrees.
Clean your pan as you would after use, as described above, and dry it by heating it on the stove.
Put your dry pan in the oven at 200 degrees for 10 minutes. This will ensure it is completely dry and also open the iron’s pores.
After 10 minutes, remove it from the oven and increase the oven’s heat to 300 degrees.
Use a clean rag or paper towel to rub ¼ teaspoon of oil onto the pan, using a circular motion.
Using a different, clean rag or paper towel, rub off the excess oil. When you’ve removed the excess, your pan will look dry and dull. It will look as though you have removed all the oil, but a very thin layer will remain, which is just what you want.
Repeat this oiling process on the handle and underside of the pan with the second ¼ teaspoon of oil.
Put the pan, upside-down, on the middle rack of your oven at 300 degrees.
Leave it for 10 minutes, then remove the pan from the oven and increase the heat to 400.
Once your oven is at 400 degrees, return your pan to the middle rack, and let it bake for 1 hour.
At the end of the hour, turn off the oven, but keep the pan in there for an additional hour.
It’s important the heat be consistent, so do not open the oven door during the final two hours of the process.
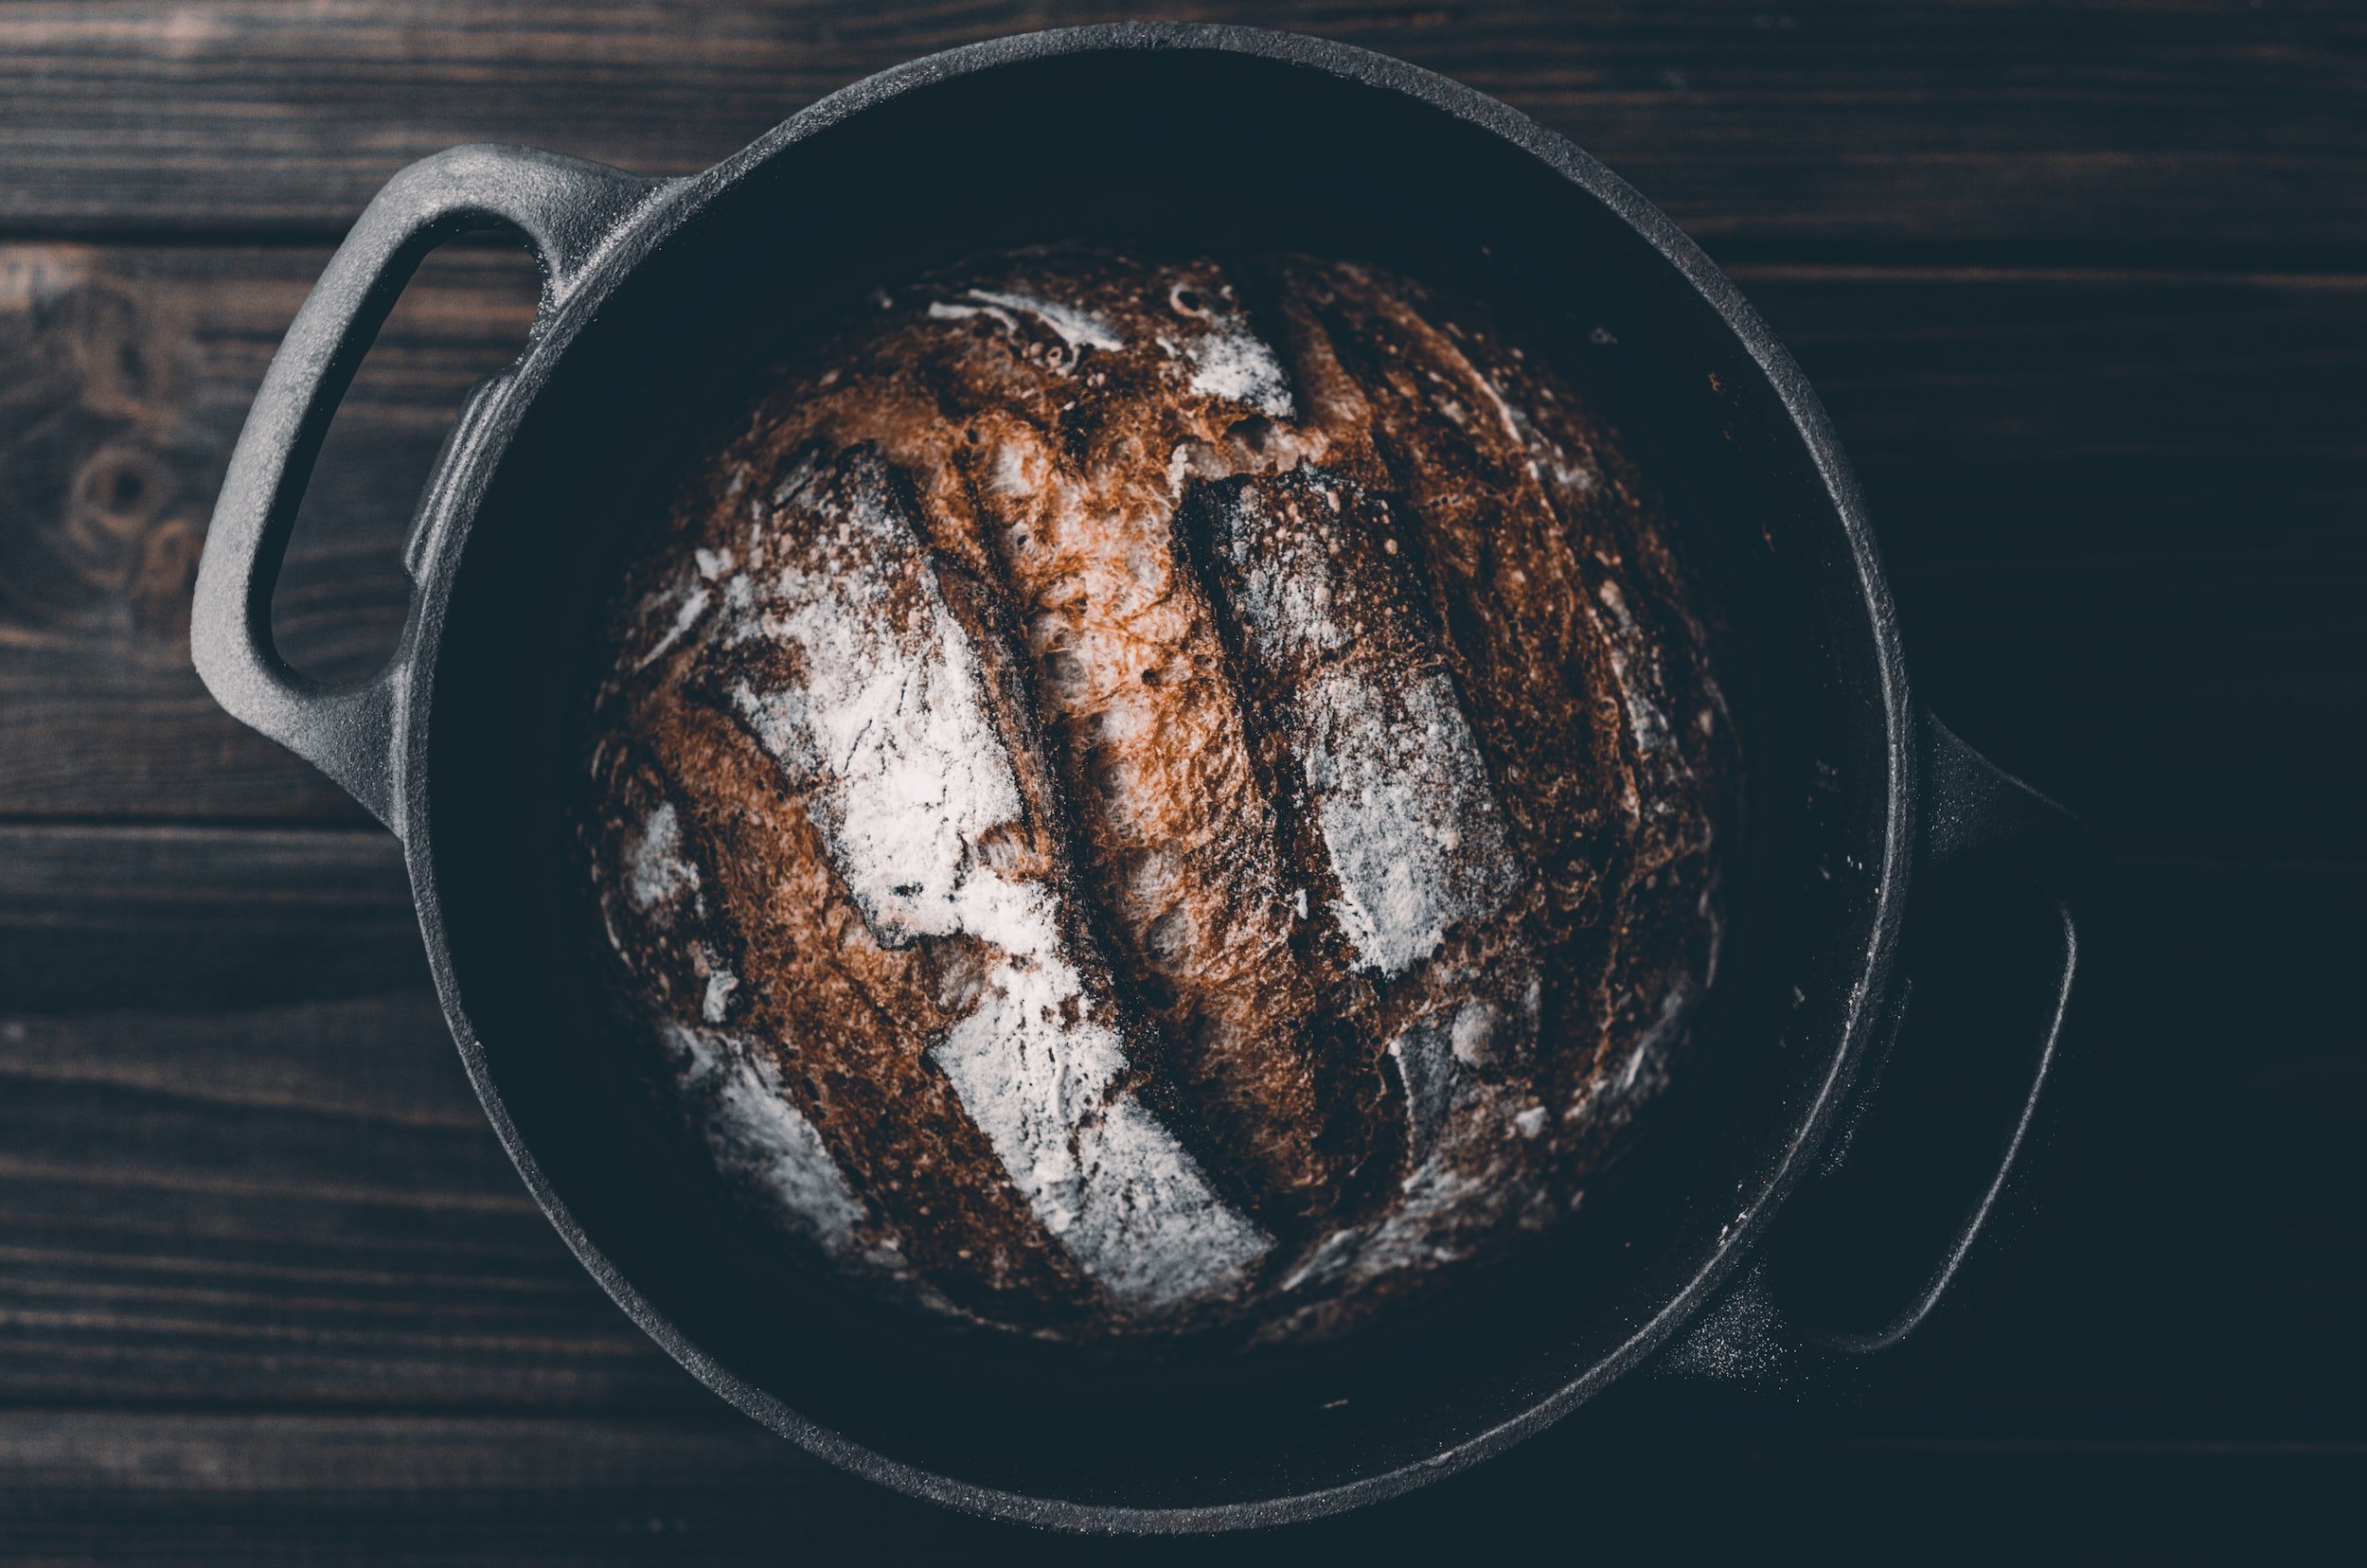
Cooking Pizza on Cast Iron

As someone who likes each tool to do more than one job, I’m not a huge fan of pizza stones. Luckily for me, cast iron is equally useful for cooking pizza as it is for cooking eggs.
Cast iron is incredibly strong and can withstand very high temperatures. A baking stone is more fragile, and is more apt to experience thermal shock than a cast iron pan.
Pizza develops a crispy, chewy, puffed up crust when cooked on an already heated surface. Because cast iron holds heat extremely well, it is perfectly suited to the job. Pizza can be cooked either in the cast iron skillet or on the bottom of it.
Recipe: Pizza Cooked on Cast Iron
What you need:
Pizza dough
Sauce
Cheese
Toppings
Oil
10-12” cast iron skillet
Instructions: Pizza Cooked on Cast Iron
Put your skillet, empty, into the oven.
Set the oven to 500 degrees.
After 10 minutes, the pan should be hot. Remove it from the oven.
Sprinkle the surface of the pan with cornmeal or flour, and then arrange your dough, being careful not to burn your fingers.
Brush the dough with olive oil and put it back in the oven until the dough bubbles. (You can skip this step and move straight to toppings if you want. It just improves the texture of the dough.)
Add your sauce, cheese, and toppings and cook until golden brown, about 15 minutes.