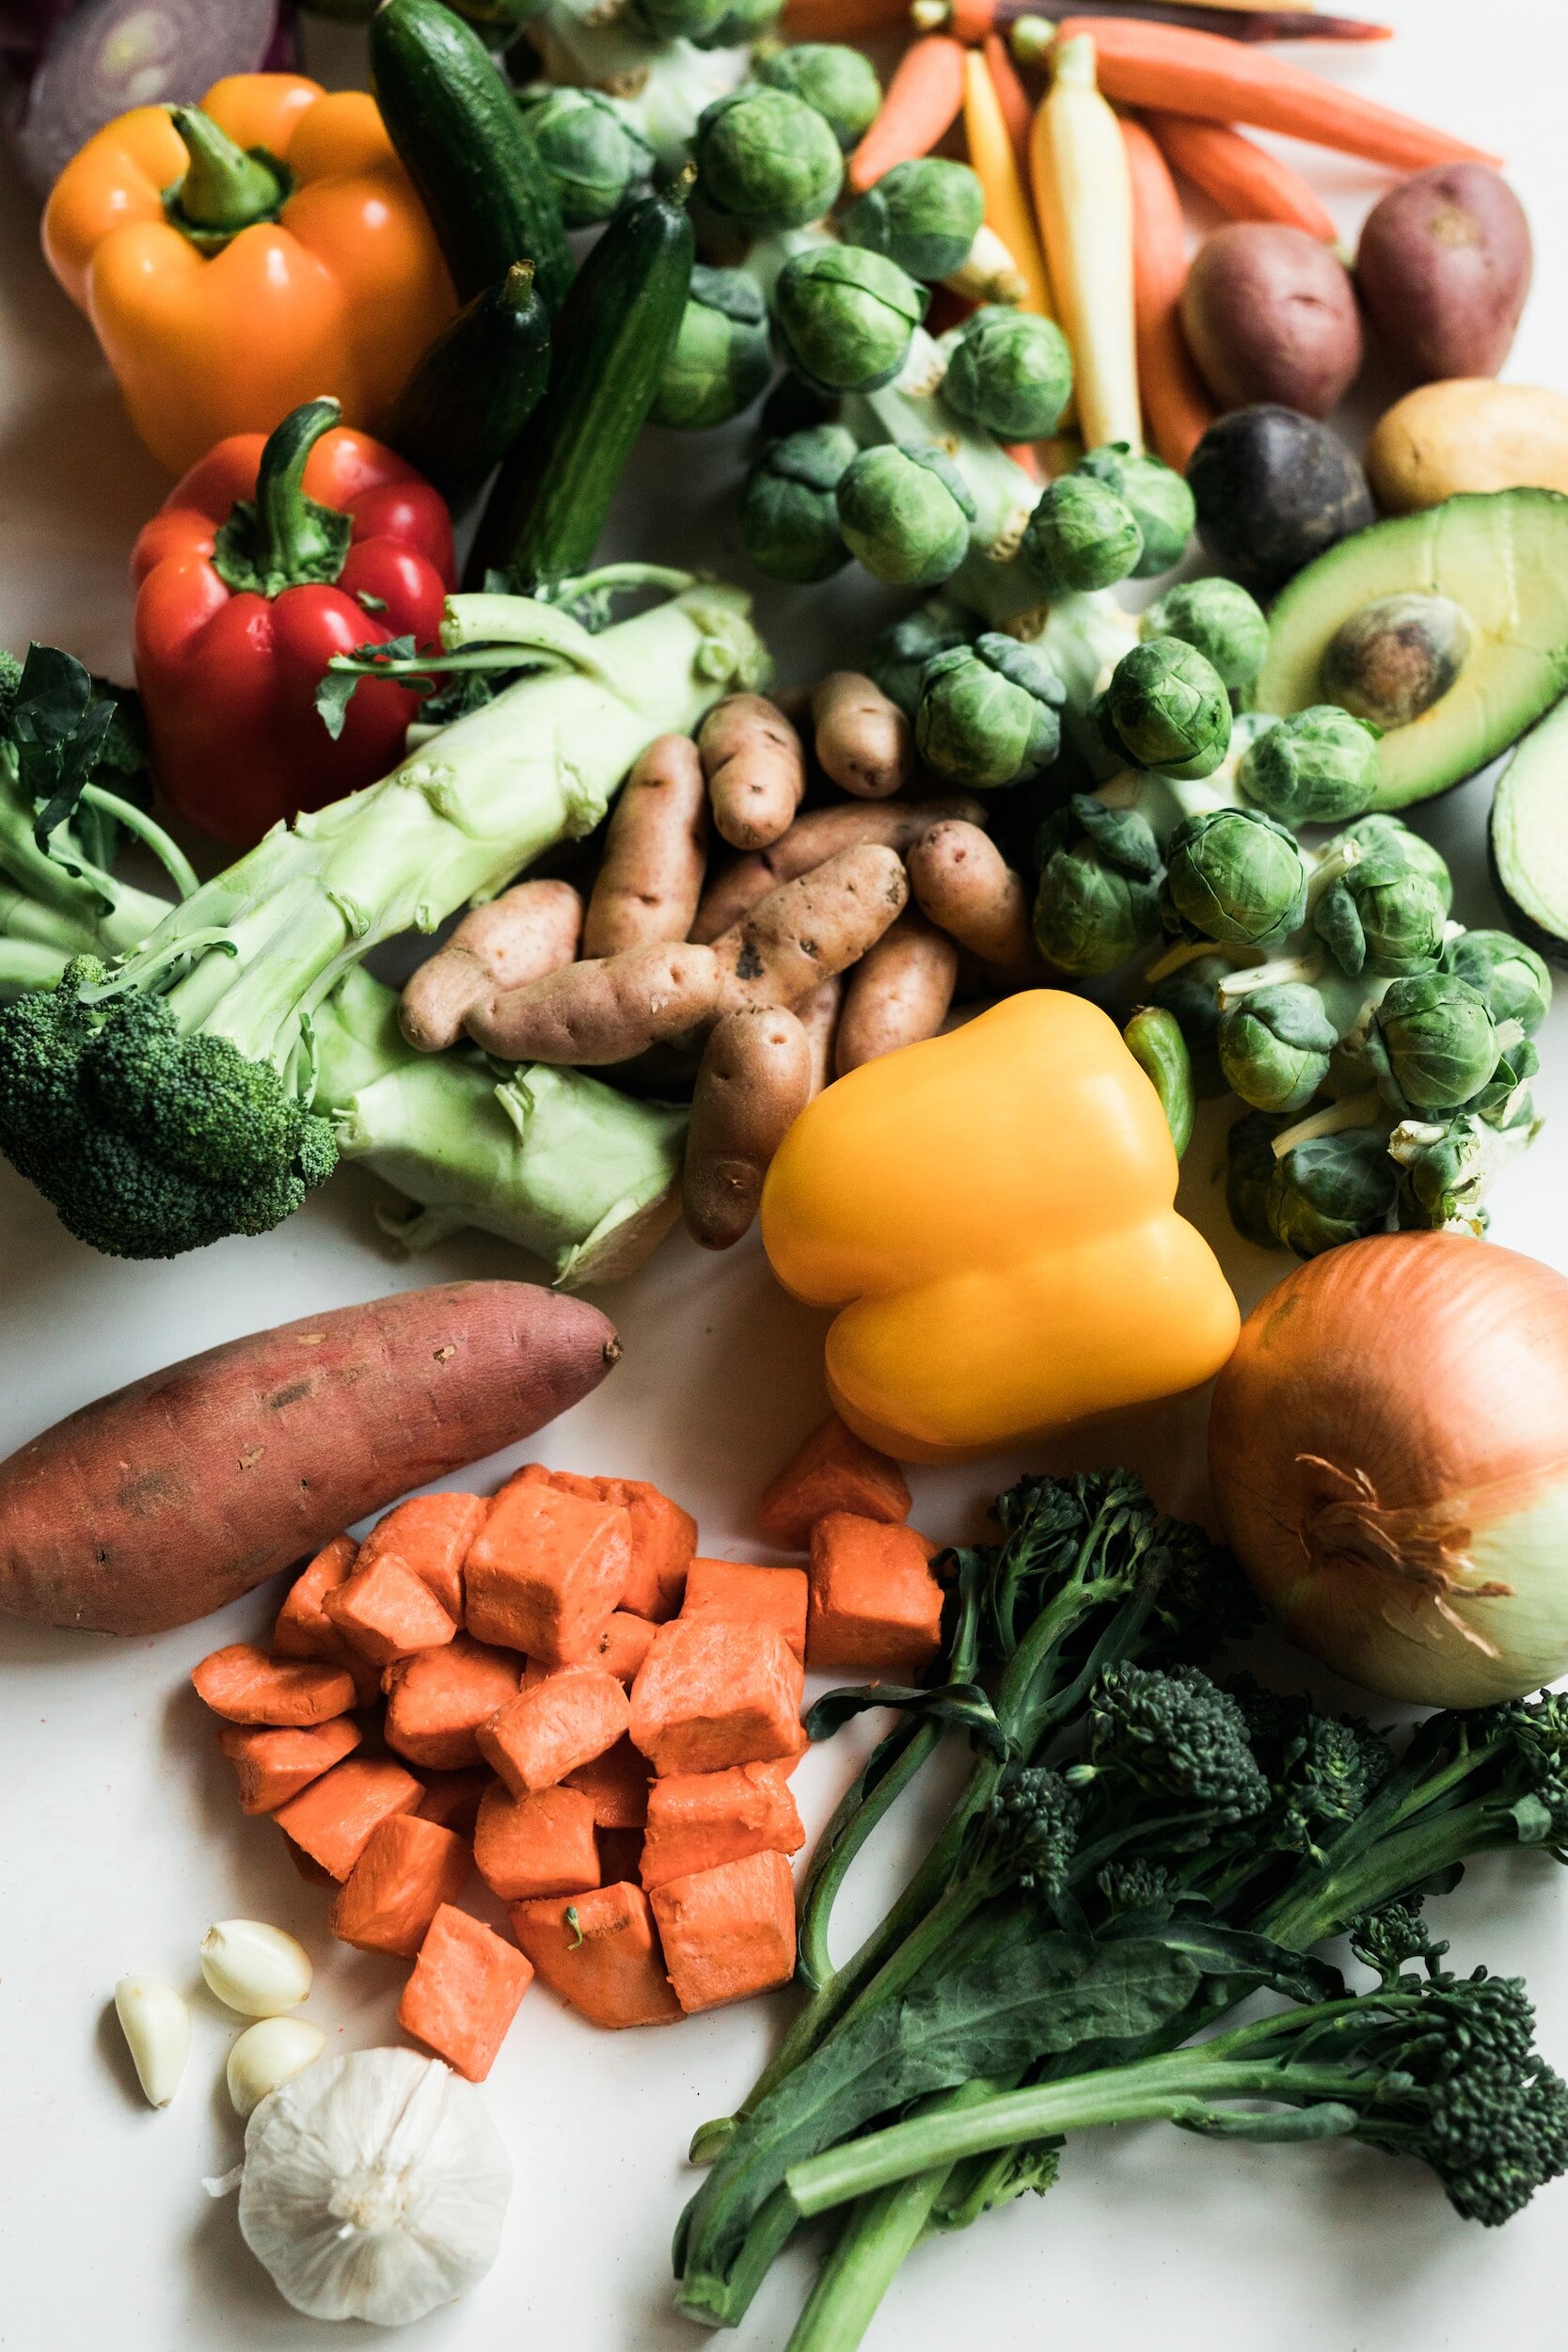
Preserving The Garden Harvest: Instructions For Water Bath Canning
What is water bath canning?
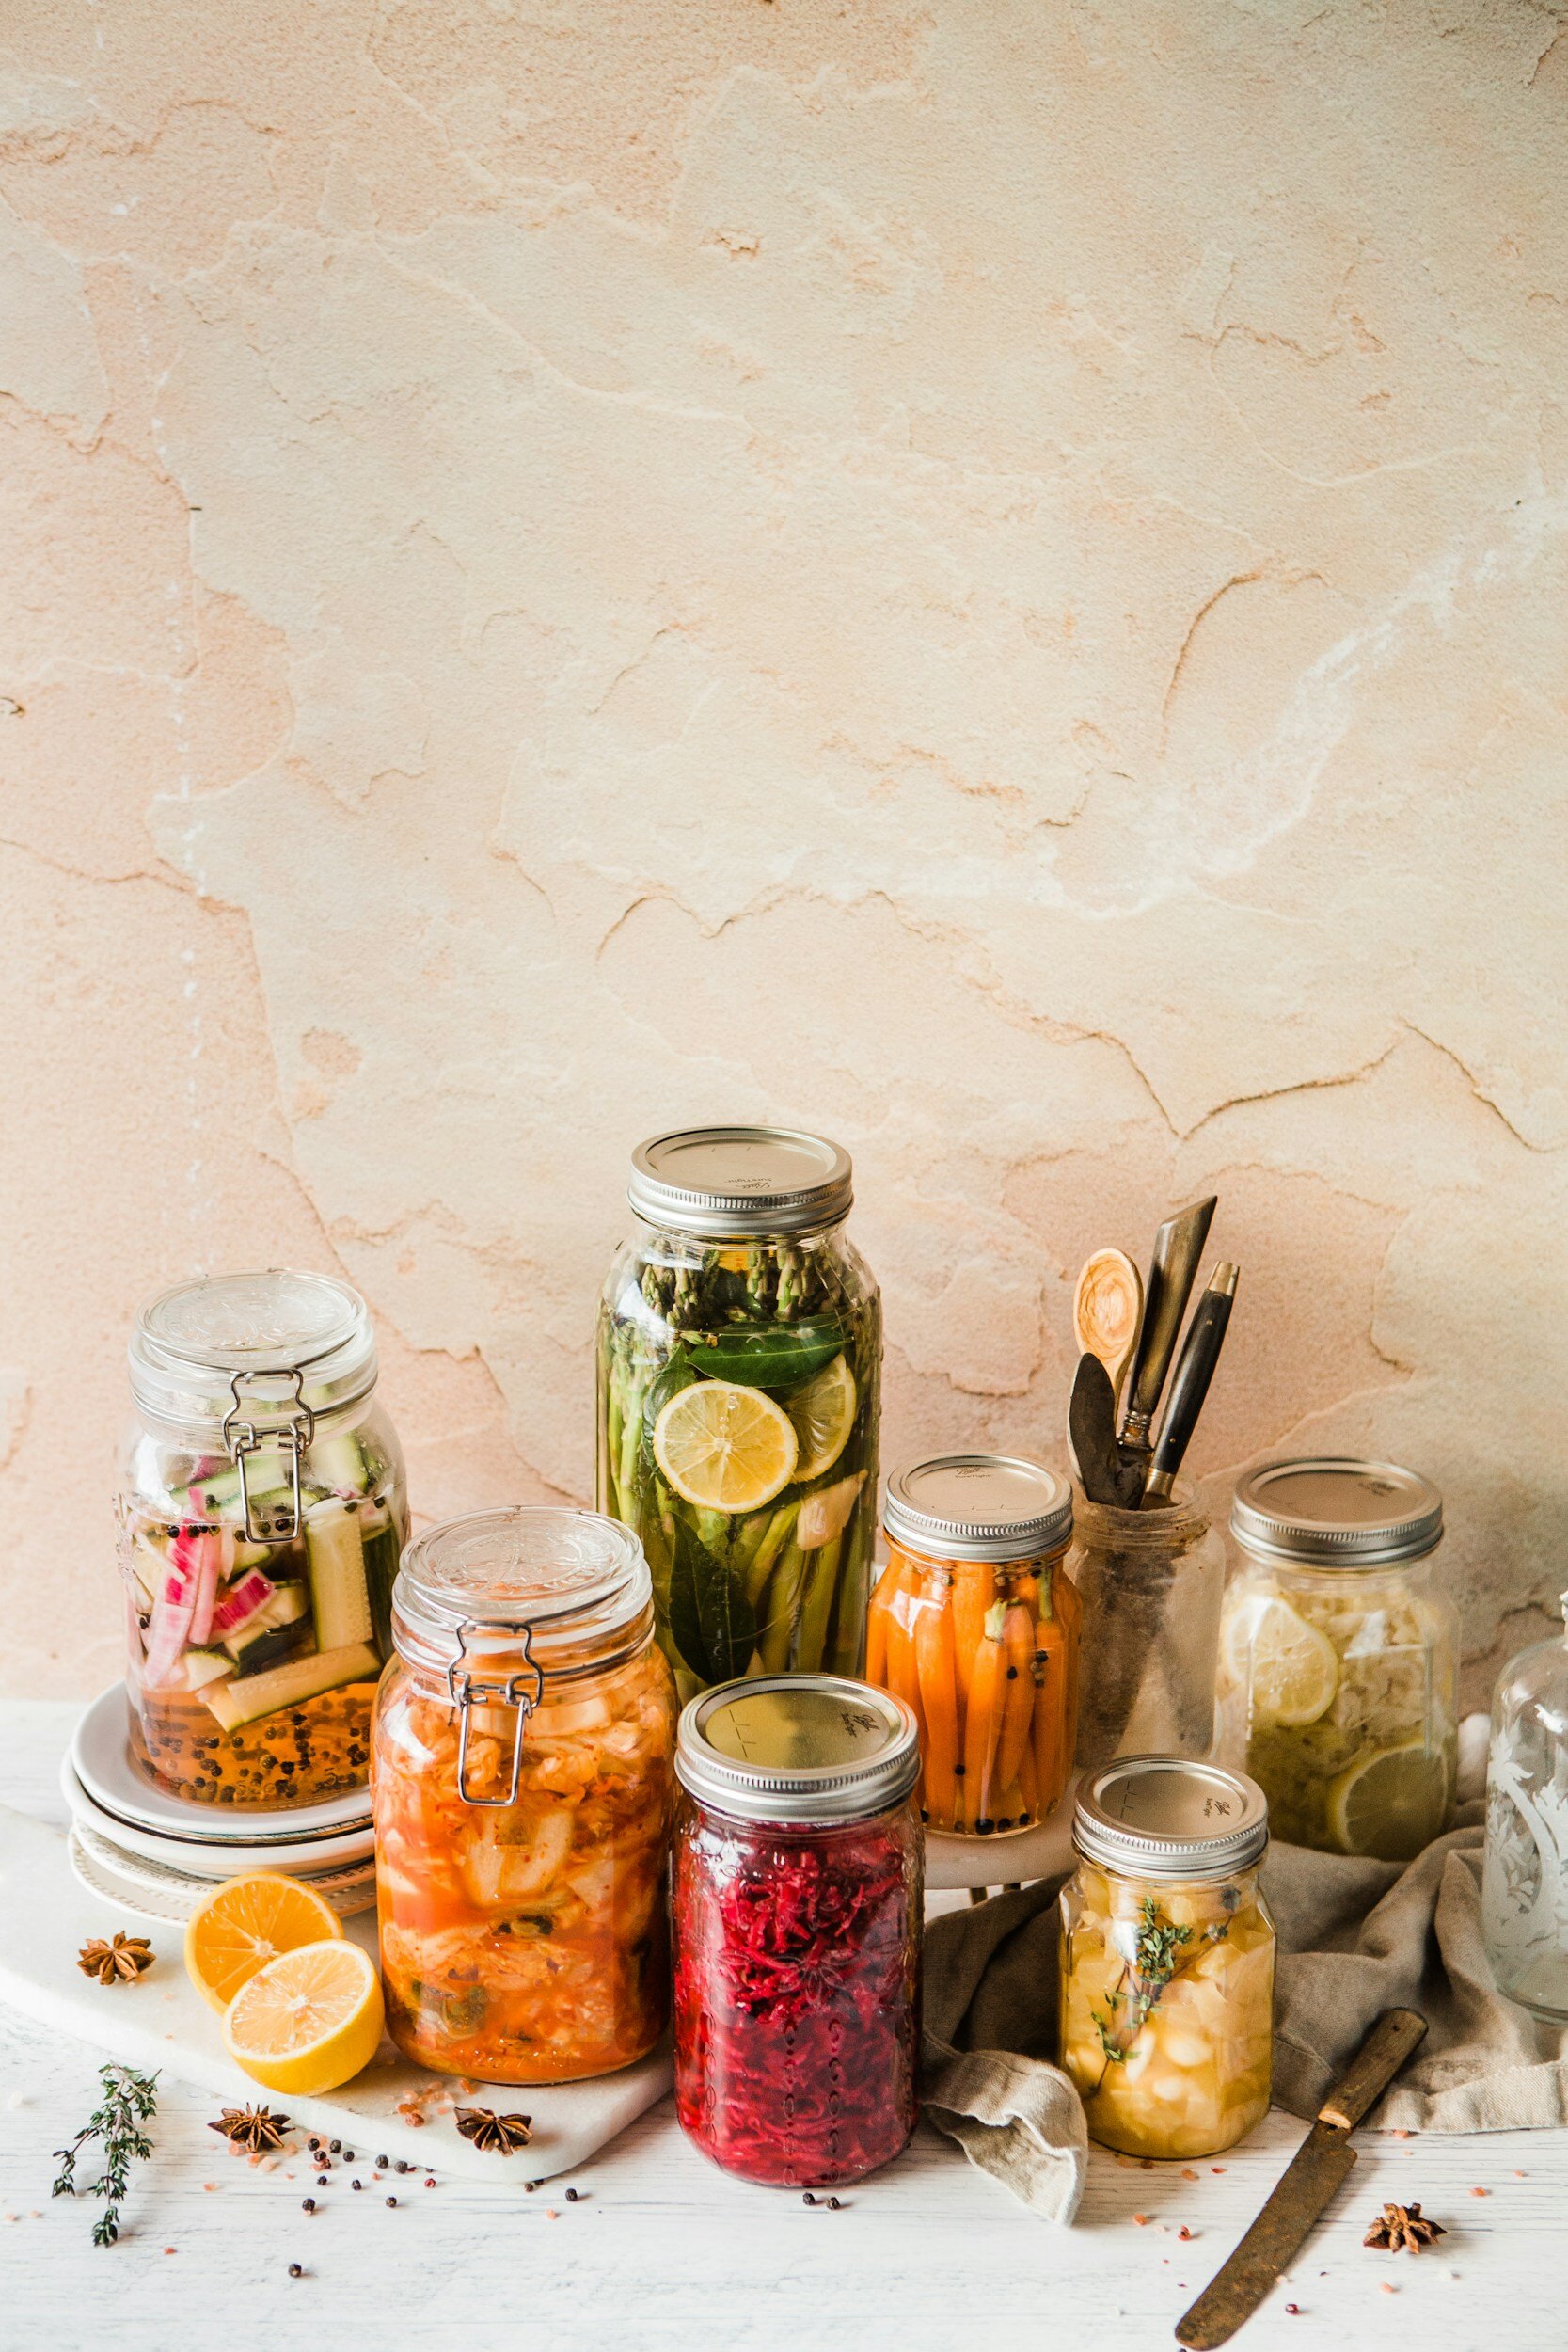
Water bath canning is a home food preservation method that involves processing jars of high acid foods in a large pot of boiling water. The process helps kill any bacteria, yeasts, or molds present in the food and creates a vacuum seal to prevent spoilage. It is a safe and accessible method for canning fruits, jams, jellies, pickles, and other high acid foods. And it doesn’t have to feel intimidating! In this guide, I will show you exactly how to water bath can your garden harvests for long term food storage.
Water bath canning has a long history that dates back to the early 19th century. The method was developed as a way to safely preserve and store food without the need for refrigeration or other modern preservation techniques.
The practice of using heat to preserve food can be traced back even further, with evidence of similar techniques being used by ancient civilizations. However, the specific process of water bath canning as we know it today began to take shape in the 1800s.
One of the key figures in the development of water bath canning was the French confectioner and brewer Nicolas Appert. In 1809, Appert invented a method of sealing food in glass jars, which he called "appertisation." He discovered that by heating food in sealed containers, it could be preserved for long periods without spoiling. His work laid the foundation for modern canning techniques.
In the United States, water bath canning gained popularity in the mid-19th century with the publication of various cookbooks and guides on home canning. One of the most influential figures in promoting canning methods was Maria Parloa, a renowned cookbook author and educator. Her book "The Appledore Cook Book" published in 1872 included detailed instructions for water bath canning.
During World War II, home canning experienced a resurgence as people sought ways to preserve food during rationing and shortages. Government programs and educational campaigns were launched to encourage home canning and provide information on safe canning practices.
Is water bath canning safe?
Yes, when done correctly and following recommended guidelines, water bath canning is a safe method of food preservation. Water bath canning is suitable for high acid foods, such as fruits, jams, jellies, pickles, and some tomato products. The high acid content in these foods creates an environment that inhibits the growth of harmful bacteria, such as Clostridium botulinum, which can cause botulism.
To ensure safety when water bath canning, it is important to follow tested recipes from reliable sources, such as government extension services, reputable canning guides, or trusted cookbooks. These recipes are specifically designed to provide the necessary acid levels and processing times to destroy any potential bacteria and ensure the safety of the preserved food.
Additionally, proper preparation and handling of jars, lids, and equipment are essential. This includes sterilizing jars and lids before filling them, using new lids for each canning session, and carefully following the instructions for filling and sealing the jars. It's also important to monitor and maintain the correct water bath canning temperature throughout the processing time.
WHat’s the difference between Water Bath Canning and Pressure Canning?
Some things like low-acid vegetables and meats can only be pressure canned due to their pH levels or density. These types of foods require the high temperatures and pressure generated in a pressure canner to ensure their safety. On the other hand, water bath canning is a suitable method for preserving high acid foods like fruits, pickles, and jams. The acidity in these foods inhibits the growth of harmful bacteria and makes them safe to can using the water bath method. It's important to note that you cannot substitute water bath canning if a recipe specifically calls for pressure canning. The two methods differ significantly in terms of temperature and pressure, and swapping them can compromise the safety and shelf life of the preserved food. To ensure food safety and quality, always follow the recommended canning method indicated in the recipe and consult reliable canning resources for guidance.
Water bath canning safety tips
Hot Food, Hot Jars
This means that your canning jars should be properly sanitized and preheated before filling them with your prepared hot food. Preheating the jars helps prevent thermal shock and ensures proper sealing of the lids. Additionally, using hot food minimizes the time that the filled jars spend at lower temperatures, reducing the risk of bacterial growth.
Be Clean To Be Safe
Cleanliness is key to prevent any contamination that could compromise the safety and quality of your canned goods. It is essential to have clean hands, clean jars, clean pots, clean utensils (preferably metal), and clean towels. This includes properly washing and sanitizing your hands before handling any food or equipment, thoroughly cleaning and sterilizing your canning jars, using clean pots for heating water, and using metal utensils that are easier to sanitize.
Trust Your Source
When it comes to canning, it is important to trust your source of information and recipes. Canning is a precise process that requires specific pH levels, processing times, and techniques to ensure food safety. It is not recommended to "wing it" or rely on untested recipes. Choose reliable and reputable sources that have a good understanding of the canning process, such as government extension services, trusted canning guides, or reputable cookbooks. Following tested recipes from trusted sources will give you peace of mind knowing that you are preserving your food safely.
Why should you use bottled lemon juice when canning?
Many canning recipes will call for lemon juice to increase the acidity of the recipe when the food itself does not have a high enough acid content to safely can. Bottled lemon juice will ensure you meet the specific acid levels required, since these acid levels can vary in fresh fruit. Vinegar may also be used to increase the acidity of foods. Prepare the recipe as written and do not improvise the amount of acid used.

SUPPLIES NEEDED FOR CANNING
LARGE POT + RACK
This will be your water bath canner. The rack keeps the jars off of the bottom of the pot. There are canning specific pots available to buy but any pot large enough to hold your jars and be covered by at least an inch of water will work.
POT TO PREPARE YOUR FOOD IN
Often the food you are cooking may expand as it boils, so choose a pot much larger than you think you’ll need to allow a lot of extra space. Since we are canning high-acid foods, you should not use aluminum or cast iron as they are reactive. Stainless steel is the best choice, with a thick bottom to prevent sticking and burning.
JAR LIFTER
This tool makes it safe and easy to move your extremely hot and full jars from counter to canner and back again.
WIDE FUNNEL
For filling your jars without making a mess on the outside of the jar or rim.
TOWELS
A stack of very clean dishtowels for spills will make all the difference.
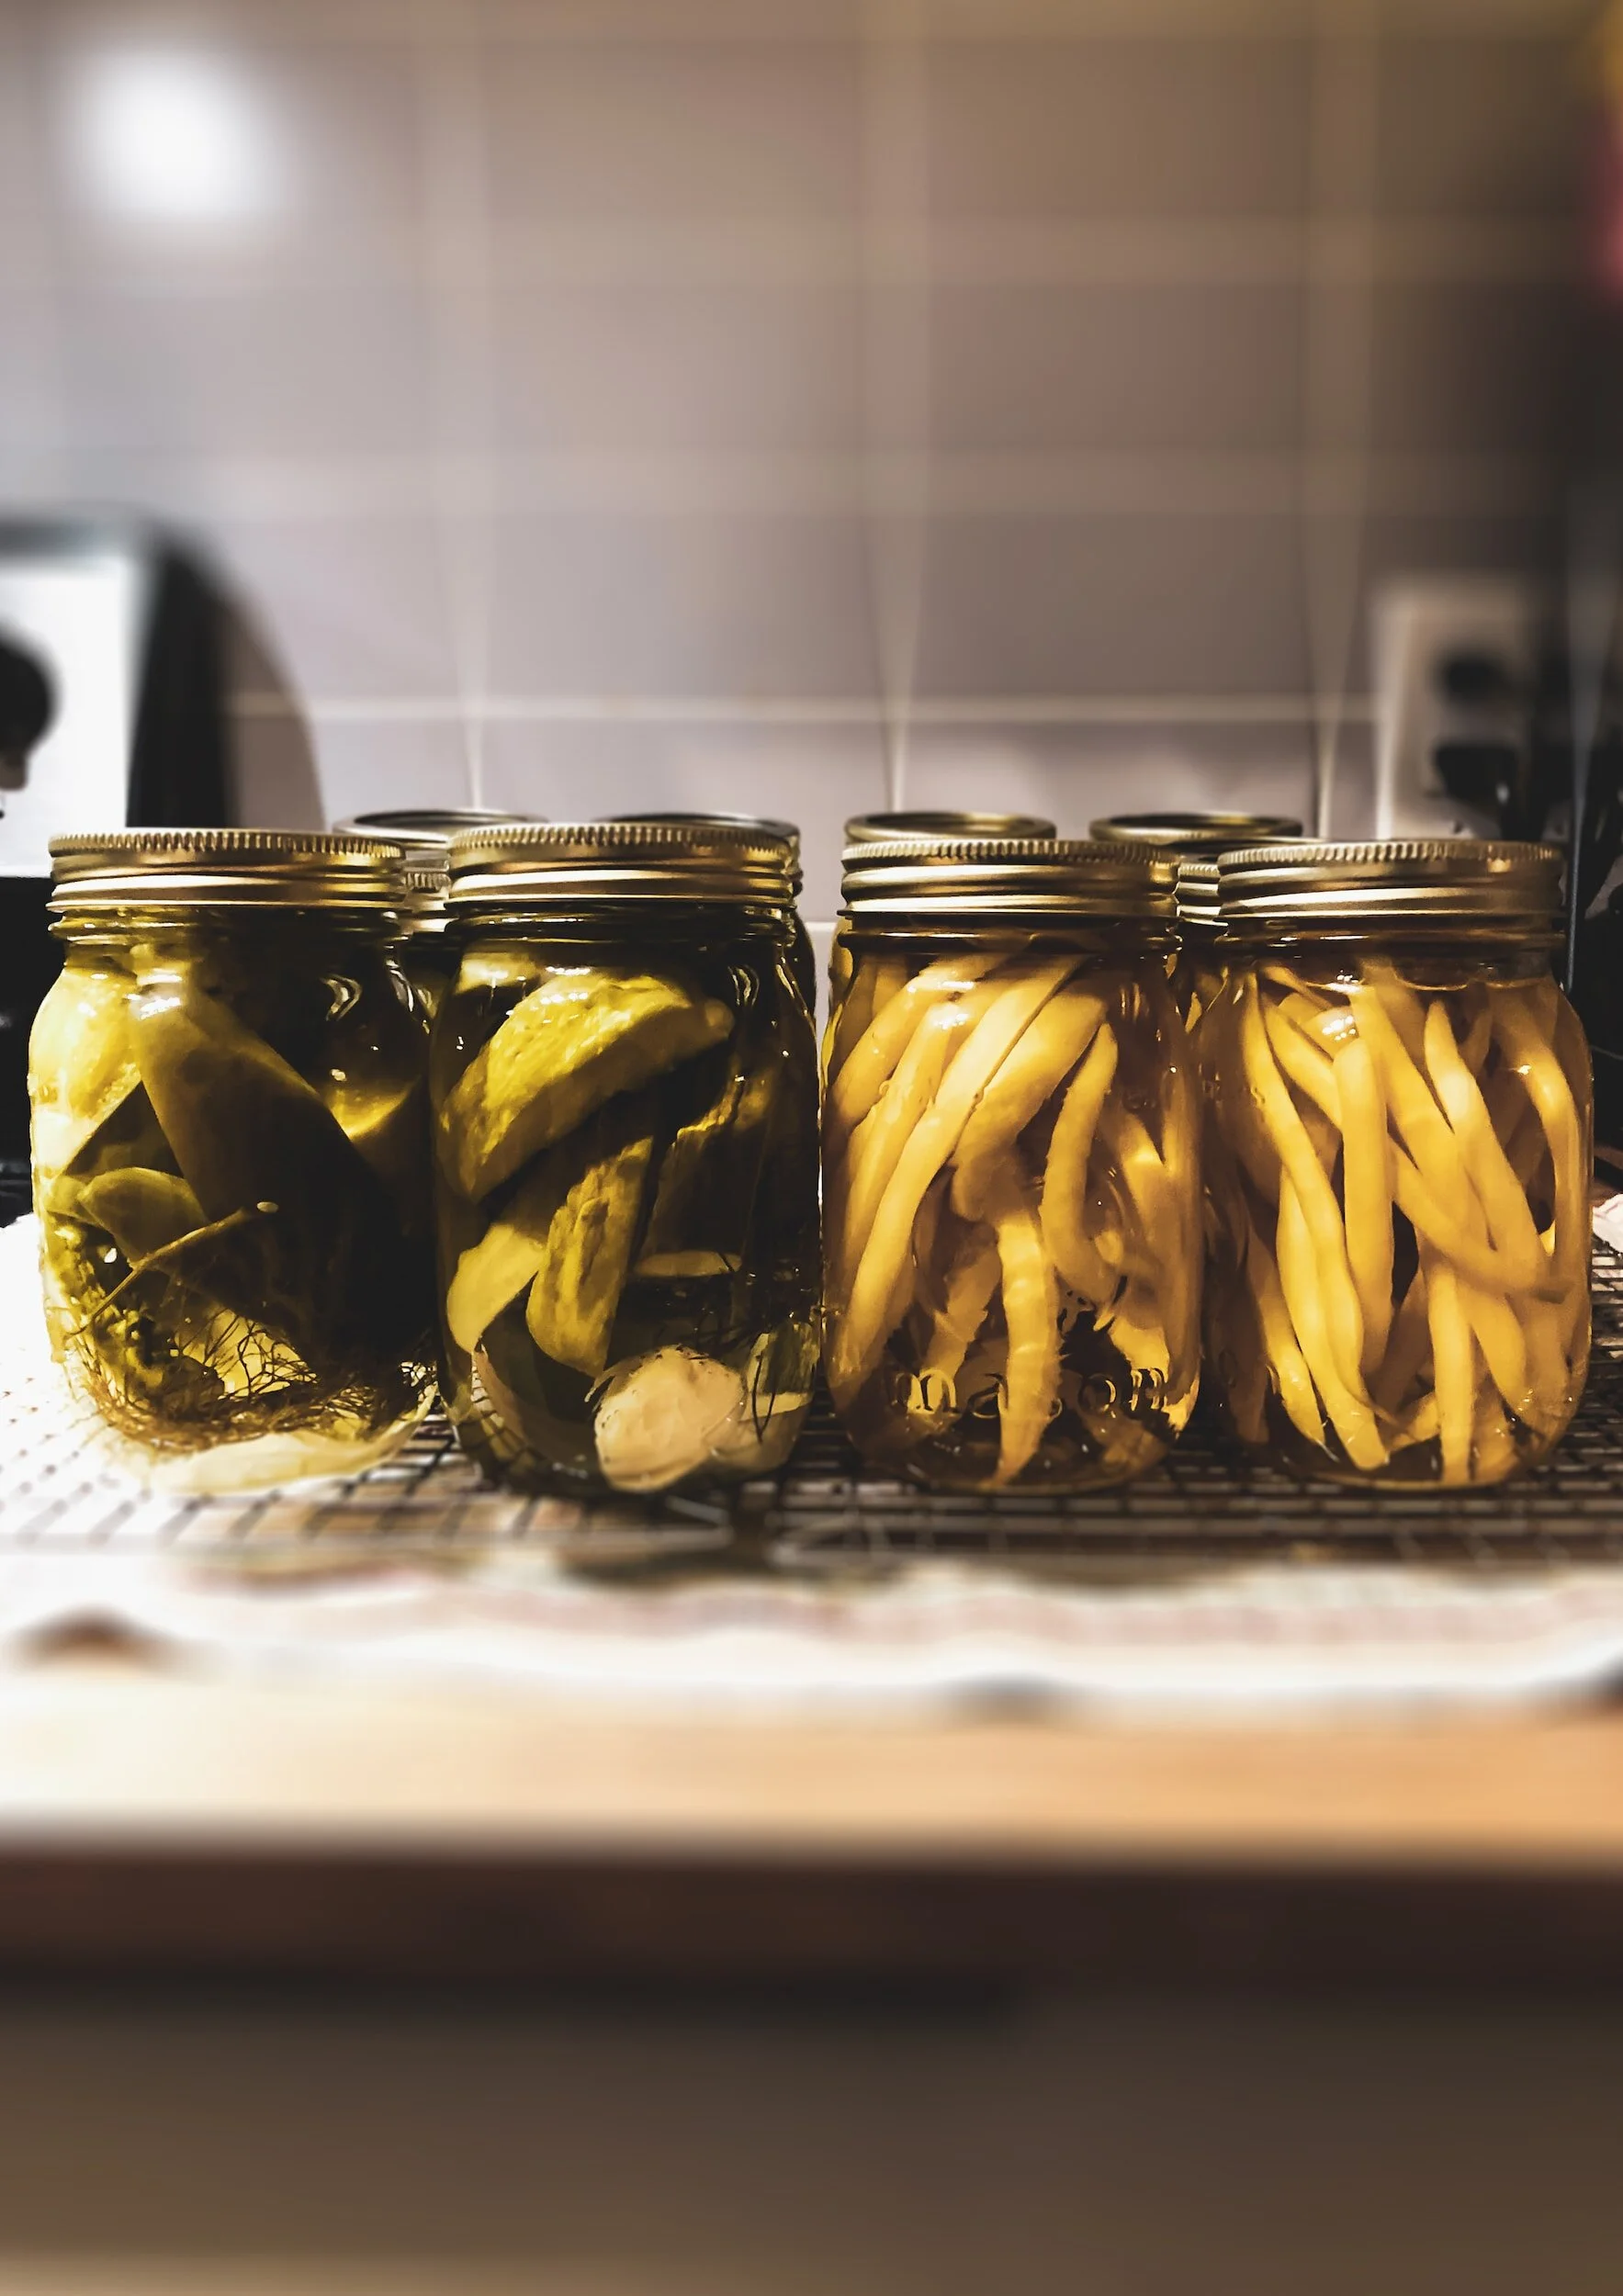
CANNING JARS
An obvious one, but there are many sizes and brands, and each size will require a different processing time. Jars can be used but canning lids usually are not.
TWO PIECE CANNING LIDS
You will have a flat lid which may only be used once and a ring which can be reused for as long as it is not rusty or damaged. Flat lids can be purchased separately from rings and jars, so you can reuse last years jars and rings and just replace the lid.
BASICS OF WATER BATH CANNING
The exact steps you follow will vary depending on the recipe you are using, but the fundamentals will stay the same. Preparation in advance will make all the difference in whether your first canning experience is chaotic or calm.
Set aside your rings and lids, and place your empty jars into your canner. Cover the jars with water, at least one inch above the top. Bring this to a boil and then simmer to sanitize the jars.
While the jars are simmering, prepare your recipe.

Remove the jars from the water and using your wide funnel fill the jars with the prepared food. Leave the appropriate amount of headspace (empty room at the top) specified in your recipe for expansion.
Use a non-metallic tool, such as a bubble remover or a plastic spatula, to gently remove any trapped air bubbles in the jars.
Wipe any food splatter from the rim of the lid with your clean dishtowel and cover the jars with the lids and rings, twisted just finger tight.
Place your full jars back in the water bath, cover it and bring back to a boil. The processing time will depend on the type of food being canned and the altitude of your location. Follow the processing time indicated in the recipe to ensure the food is safely preserved.
Remove the jars from the water bath and place them on a towel-lined area of the countertop where they can cool for 24 hours, so as not to disturb the sealing process. The jar lids will pop as they seal.
After 24 hours has passed, check the seal by removing the ring and holding the jar by its lid. The lid should be on very firmly. If it didn’t seal - your food is still edible, but it is not shelf stable and must be kept in the fridge and eaten right away.
Label your jars with the contents and date and store in a cool dark place. You should not put the rings back on at this point - they aren’t necessary once the jar has formed a proper seal, and could prevent you from noticing a false seal.
High acid canned food is good for about one year when properly stored.