Make Bread with NO Kneading Required [Recipe]
The Cottage Peach is reader-supported. When you purchase through links on our site, we may earn an affiliate commission at no additional cost to you. All opinions are our own.
Dear fresh baked bread,
I knew I first loved you before I had ever actually experienced you myself. From the moment I read Heidi for the first time as a child, I absorbed the imagery of a goatherd enjoying bread and cheese on the mountainside wrapped in a simple cloth with great excitement. Fresh bread became an elusive Thing that I knew I someday wanted to acquire, though it still did not occur to me in the era of Fruit Roll-Ups and Poptarts that fresh bread was something just anyone could make. Fresh bread had nooks and crannies to hold copious amounts of butter, a tough outer crust giving way to a soft and springy interior. Fresh bread was the stuff of dreams.
As I entered my teenage years, you became a real presence in my life, but I still saw your production as the domain of a skilled artisan with decades of experience. If I didn’t know better, I would have thought bread could only be made in the dark hours of morning, in a warm and quiet bakery commanded by a flour dusted, apron-clad master. Still, we were overjoyed at the discovery of another local bakery and enthusiastically paid for our loaves to be mixed, shaped and baked by another’s hand.
That all changed with no-knead bread. Simple to make and requiring just a handful of ingredients, suddenly my mother was filling our home with the unmistakable scents of that elusive bakery on a weekly basis. You materialized as a crusty, rustic loaf just like the ones I imagined from the books of my childhood. No knead dutch oven bread shattered my limiting belief that bread was reserved for an elite group of bakers and transformed fresh bread from a special treat into a daily occurrence. This easy bread opened the floodgates into a whole new world - one of yeast and gluten and eventually, sourdough.
And here is where we hit a rough patch in our love story. Beloved by the masses, sourdough and I just weren’t compatible. Like a mismatched couple, we disagreed a lot. I tried so hard to love you…but…I thought sourdough was too fussy. My dough rebelled, turning a toxic, angry pink color in my fridge. I tried again, only to lose my next starter to neglect once more. Sourdough and chronic illness aren’t very good friends. I couldn’t adhere to a regular baking schedule, and my dough couldn’t accept my inconsistency. When I could muster the energy (and courage!) to bake it, it failed more often than not, with texture issues I endlessly tried to remedy with more or less rise time, different kneading methods, and different ratios of water. Spending hours (days!) preparing a loaf of bread only to have it come out inedible was completely deflating. I was thoroughly turned off from baking bread by this experience. I slipped back into my limiting belief that bread - REAL bread, the bread I loved - could only be produced by a master (who was willing to waste hundreds of pounds of flour in the process of learning)
To be honest, I forgot about no knead bread for a few years. My mom’s baking phase had sputtered out, and I moved into my own place, and suddenly there wasn’t any fresh bread to be had any more. So thoroughly discouraged by my sourdough baking experience, I said to myself and others that I “just wasn’t a very good baker” and “didn’t enjoy baking bread”. I’ve always been the sort of person who picks the most complex project to learn how to knit, which often leads to an all-or-nothing mentality that can completely make or break my experience in learning anything new. This is a dangerous gamble that has led me to abandon more projects than I care to admit. I became aware that I have little patience for the hours of practice mastery requires. This was something I was determined to change about myself, little by little. I knew that to avoid discouragement I needed to start small.
“How about sandwich bread?” A small voice in my mind said.
“I do like sandwiches” I replied warily.
The first few loaves were just ‘meh’ - but ‘meh’ was infinitely better than ‘inedible brick of flour and water’...so I kept going.
The next batch was just a little bit better.
And the batch after that, near perfection.
Suddenly I had it - I had grasped onto a strand of knowledge, of understanding, that could carry me through the more complex recipes I wanted to try. I had started small, understood the principles, waited for it to click into place, and now there was a framework for taking the next step, and the one after that.
I could have danced across the kitchen with a loaf in each arm. I may have done just that.
Rolls came next. Dainty and cute, perfectly portioned and held under the tension of a glutenous web. Packed tightly together in a round pie tin they rose and baked under my supervision. In my excitement I could not wait for them to cool to begin pulling them apart at the seams, glazing the tops with honey and spreading thick pats of butter along the inside. It was the best roll I have had in my 30 years of life.
“But what about the no knead bread?” that little voice said.
I still had not remembered. But one fateful day when the relentless rain outside had my arthritic joints aching (a fact that I resented at 30, my bones protesting like that of an 80 year old) I found myself facing a conundrum - I wanted fresh bread, but kneading it was going to prove problematic.
I sometimes just stuff everything into my grandmother’s stand mixer when this is the case. It works just fine. But for some reason, today was different. Today I remembered the artisan no knead bread.
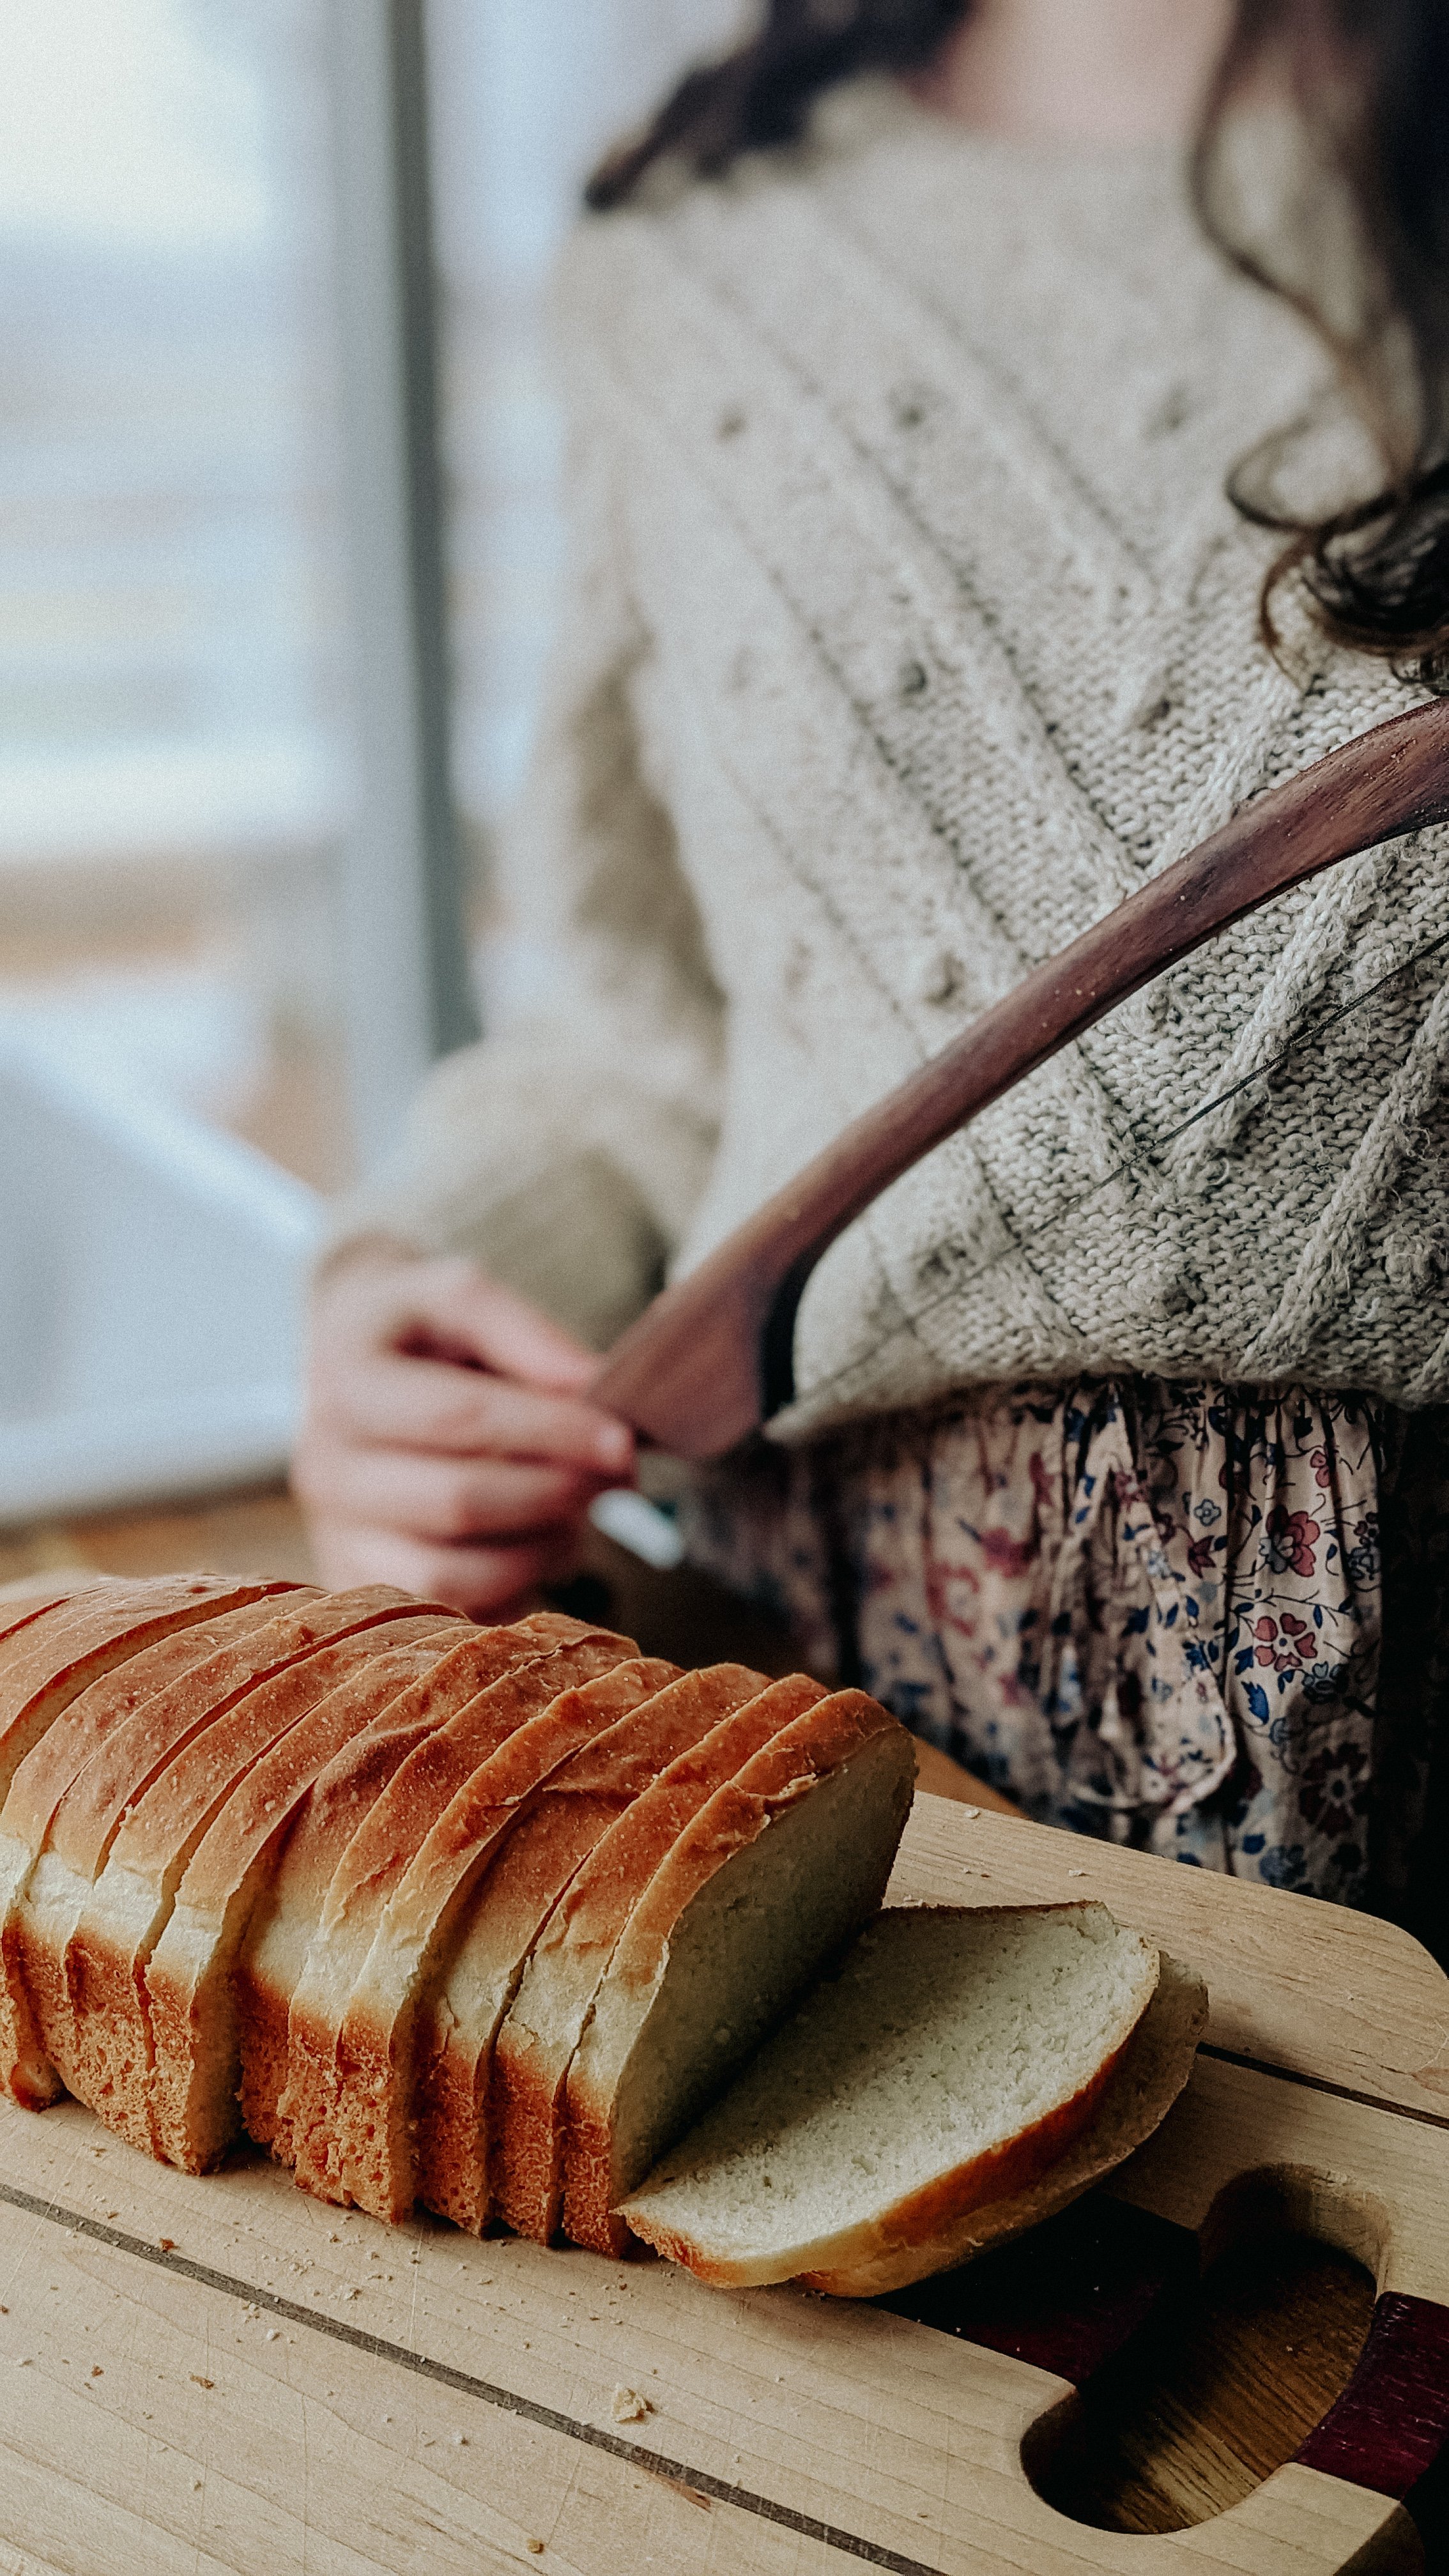
It’s an easy bread to bake, I promise. It won’t tire you out, or leave you disappointed. As far as bread recipes go, there is no mistaking this one for a flop. You can make no knead yeast bread at home this morning, and enjoy it with lunch tomorrow. This is a rustic loaf that goes well with soup, toasted and slathered with butter and then soaked into the soup itself to lap up all those deep flavors. I also enjoy it with a fried egg on top for breakfast, or transformed into french toast. The toppings you can add to bread are just about endless. Turn it into dessert with a layer of hazelnut spread, or cinnamon sugar and thick pats of fresh butter. Made into a grilled cheese with basil pesto and sliced tomato and a drizzle of balsamic vinegar it is the perfect small lunch for one.
The recipe we have always used in my house comes from Jim Lahey, owner of Sullivan Street Bakery. It was published in the New York Times and became one of the most popular recipes they ever published. Typically I try and share my own spin on things, but in this case the original stands so well on it’s own, no modification is needed.
Let’s get started.
No knead bread recipe from NYT Cooking:
3⅓ cups/430 grams all-purpose or bread flour, plus more for dusting
Generous ¼ teaspoon instant yeast
2 teaspoons kosher salt
Cornmeal or wheat bran, as needed
In a large bowl combine flour, yeast and salt. Add 1½ cups/345 grams water and stir until blended; dough will be shaggy and sticky. Cover bowl with plastic wrap. Let dough rest at least 12 hours, preferably about 18, at warm room temperature, about 70 degrees.
Dough is ready when its surface is dotted with bubbles. Lightly flour a work surface and place dough on it; sprinkle it with a little more flour and fold it over on itself once or twice. Cover loosely with plastic wrap and let rest about 15 minutes.
Using just enough flour to keep dough from sticking to work surface or to your fingers, gently and quickly shape dough into a ball. Generously coat a cotton towel (not terry cloth) with flour, wheat bran or cornmeal; put dough seam side down on towel and dust with more flour, bran or cornmeal. Cover with another cotton towel and let rise for about 2 hours. When it is ready, dough will be more than double in size and will not readily spring back when poked with a finger.
At least a half-hour before dough is ready, heat oven to 450 degrees. Put a 6- to 8-quart heavy covered pot (cast iron, enamel, Pyrex or ceramic) in oven as it heats. When dough is ready, carefully remove pot from oven. Slide your hand under towel and turn dough over into pot, seam side up; it may look like a mess, but that is OK. Shake pan once or twice if dough is unevenly distributed; it will straighten out as it bakes. Cover with lid and bake 30 minutes, then remove lid and bake another 15 to 30 minutes, until loaf is beautifully browned. Cool on a rack.